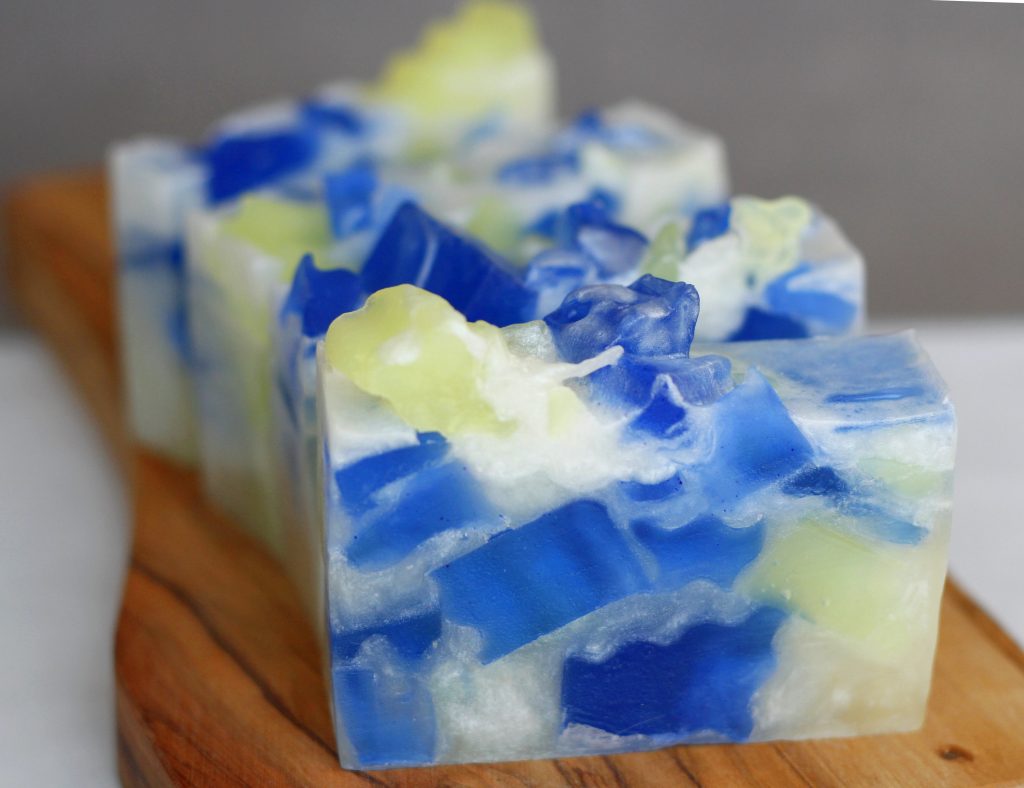
In the last few months my kids have been watching me unmold and cut a lot of soap. If you have kids you know this: They want to imitate everything you do, especially if it looks like you're having fun. Finally Small (4 years old) demanded one day: “Mom, I want to make soap too.” In my head I had already prepared all the reasons why that wasn’t a good idea - kids couldn’t work with lye, it was too dangerous and so on. But then I thought of making melt and pour soap. Yes, that could work.
So, I showed him all the cute molds we could use (lego, dinos, fish), but no he wanted to use mama’s mold and mama’s soap cutter. Ok, then. I let him choose the colors and we got started.
Important note: This is not a project you can let small children do by themselves. It involves working with hot soap and they need to be old enough to know not to touch it. It also requires a fair amount of guidance on the part of the adult.
Working with Melt and Pour
This was my first time working with melt and pour - aka glycerin soap. So far I had always looked down on making melt and pour as not being the real thing. I simply didn’t see the challenge in it.
I have to say though that it was really fun to make. Not having to meticulously measure out each and every single ingredient and not having to wear all the safety gear was really refreshing. And, of course, how can it not be fun if you have the cutest little assistant brimming with pride that he gets to make soap.
What I struggled with a little bit was to get the temperature and therefore the consistency right. There was a lot of cooling down, reheating, cooling down again going on. A few times I thought the temp was good, but then by the time we mixed in the color it was thick and gooey, so into the microwave it went and so on.
If you’re used to making cold or hot process soap you will be amazed at how little colorant and fragrance you need in melt and pour soap. You can use a variety of colorants just as in other types of soap making, some just need to be premixed in a little rubbing alcohol or glycerin.
Disclosure: This post contains affiliate links, meaning at no additional cost to you, will I earn a commission if you decide to click through and make a purchase.
So, let’s get started.
What you’ll need:
- 22 oz Melt and Pour Soap Base
- Rubbing alcohol in a spray bottle
- Fragrance oil or essential oil of your choice – we used 5g of Lemon Verbena Yankee Type (BB)
- 3 small scoops (I like to use these to measure) of Fizzy Lemonade Oxide (BB) - adjust to desired color intensity
- 2 small scoops of Ultramarine Blue Oxide (BB) - adjust to desired color intensity
- 4 small scoops of Pearl White Mica (BB)
- 2 x 4 Inch silicone molds (BB) – you can also only use one, you just have to wait for the soap to cool before you continue
- 3 heat safe containers or pots
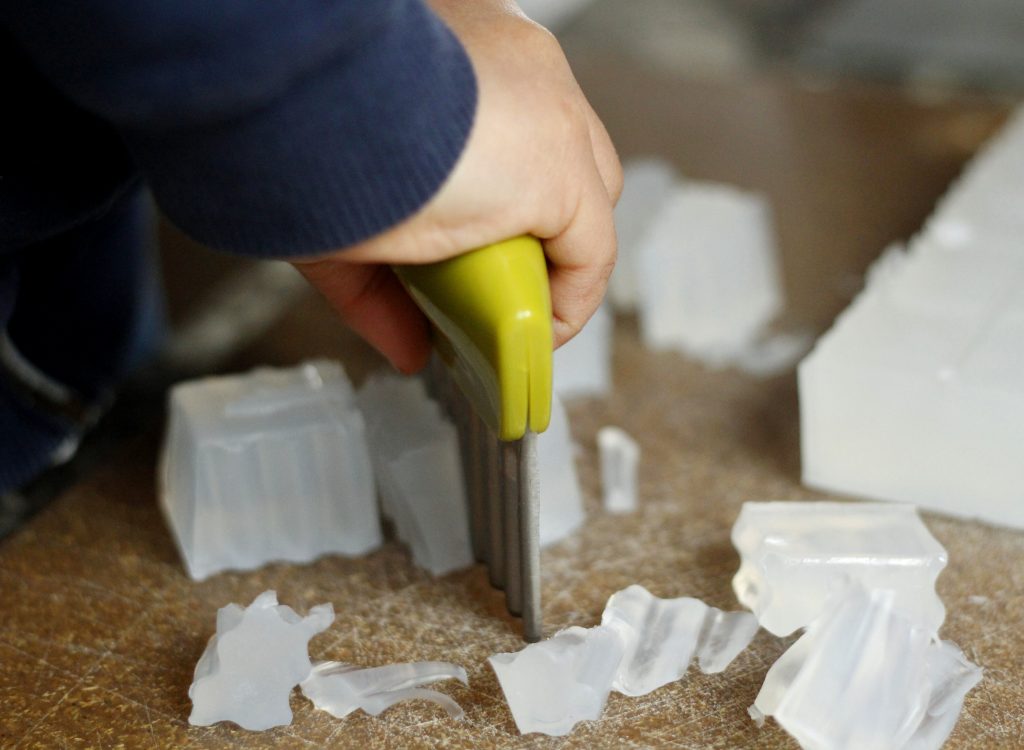
- chopper or knife made for kids
- Sharp knife or soap cutter to cut into bars
- Whisk and spatula
Instructions:
- Cut soap base into small pieces and heat over low heat on stovetop or in 30 second bursts in the microwave until completely melted. If you’re using a pot make sure you have a cover on, if you’re using a pyrex in the microwave I would cover it with cling wrap. This will keep the heat in and the soap fluid.
- Set aside to cool to around 140 degrees
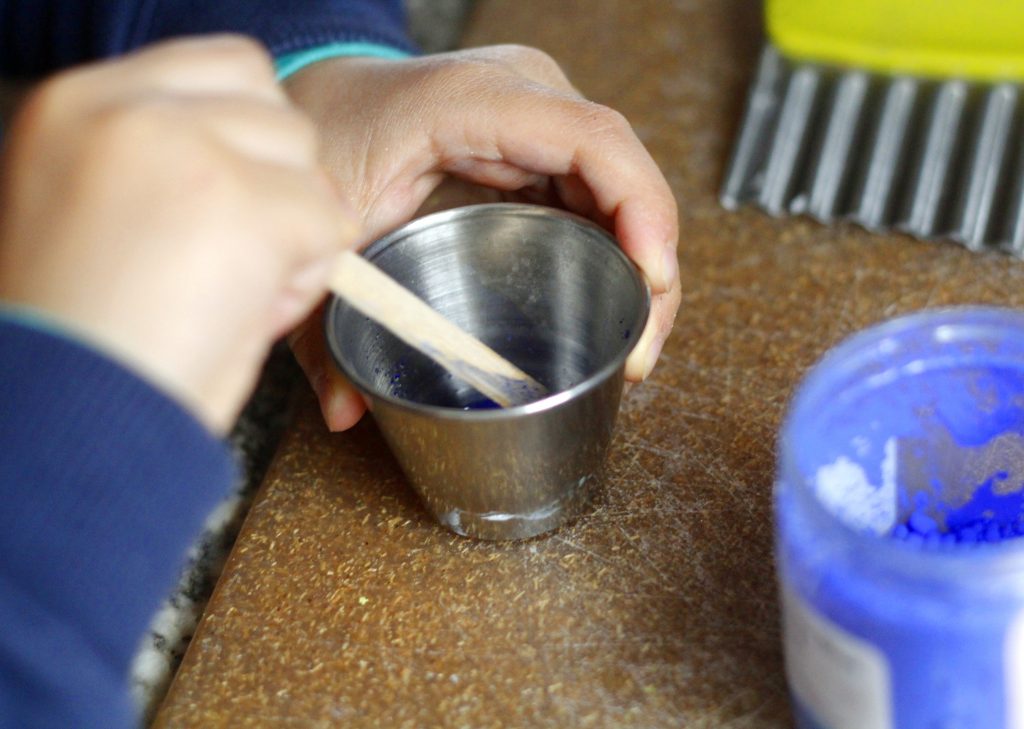
- In the meantime prepare your colors: spritz a little rubbing alcohol in a small cup, add oxide and stir until fully dissolved (the mica doesn’t need mixing, it can go straight into the soap)
- Add your fragrance oil to the soap base and stir
- Pour about 5.5 oz of soap into a small container and stir in the premixed yellow oxide
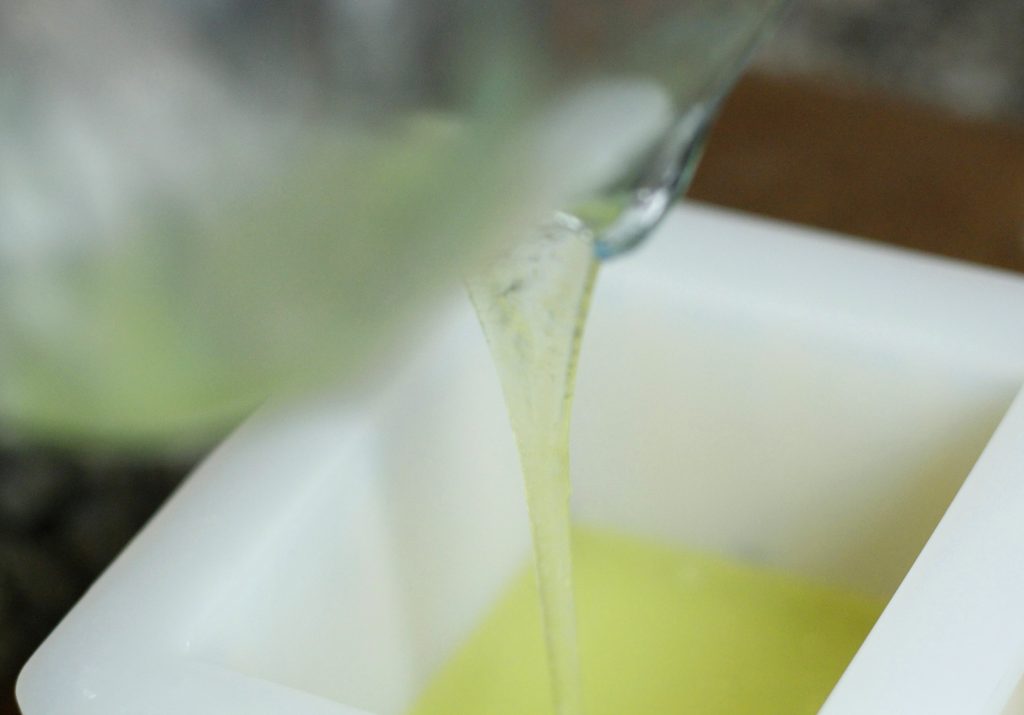
- Pour yellow soap into one mold, it will be about 1 inch thick
- Pour about 5.5 oz of soap into another small container and mix in blue oxide
- Pour blue soap into the other mold (if your only using one mold you would have to wait for the yellow soap to be hard enough to unmold)
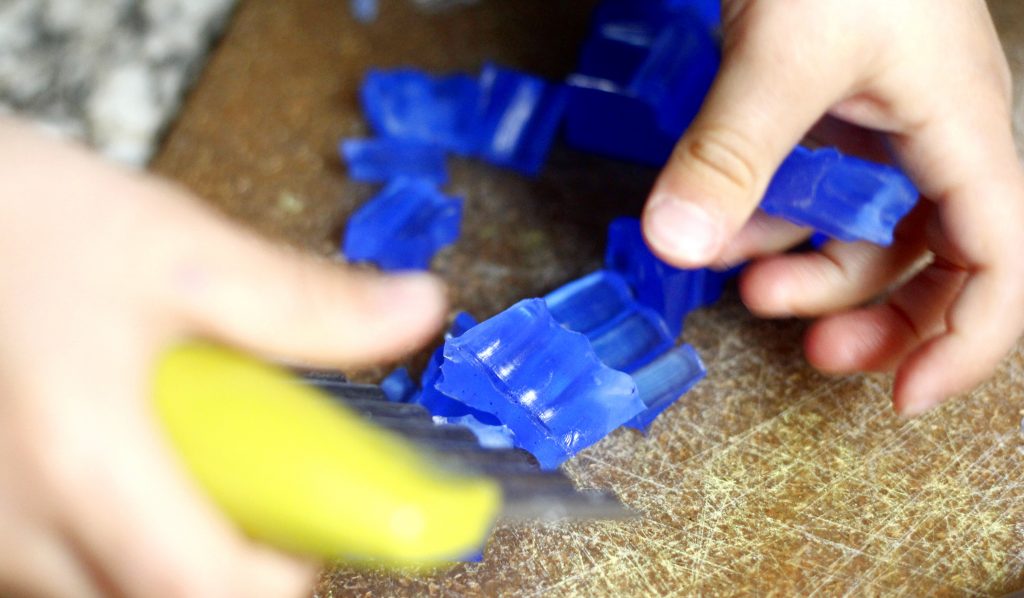
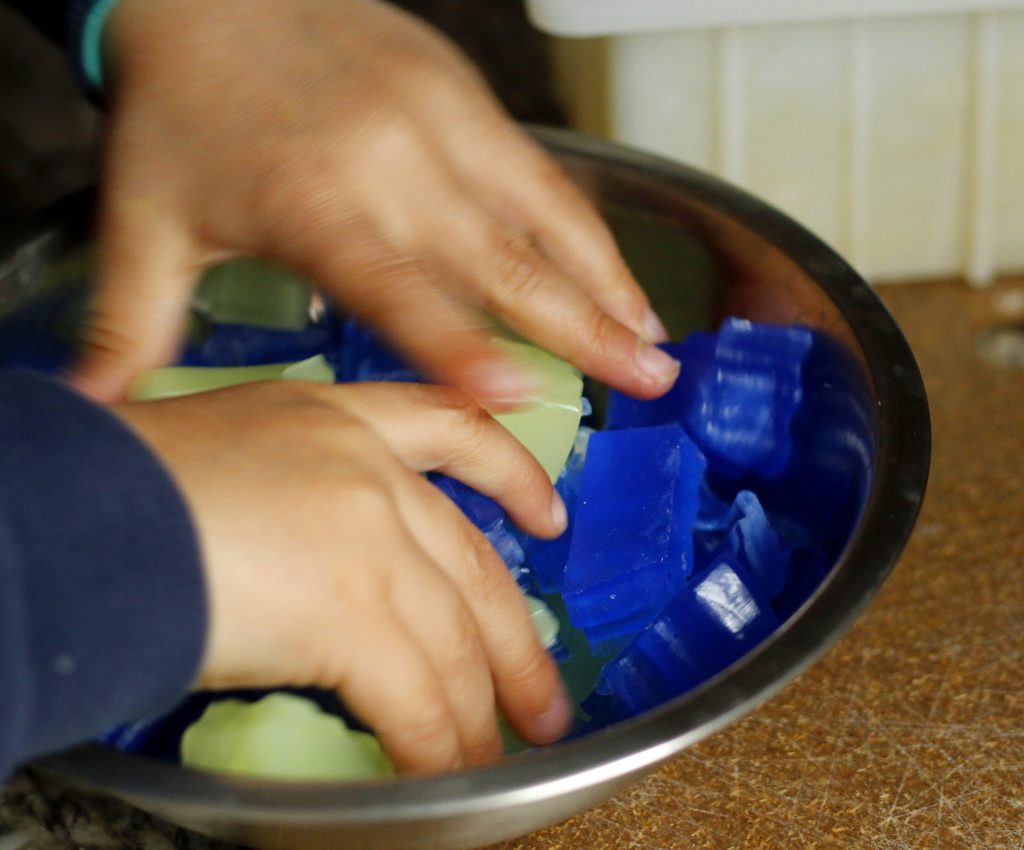
- When both soaps have cooled down, unmold the soap and cut into small pieces (this is a fun thing to do for kids 😉
- At this point the rest of the soap batter will likely be too cold to work with, so heat it up slightly just until it becomes fluid again
- Mix in the white mica and pour half of the batter into the mold. Make sure you put the cover on the rest of the soap.
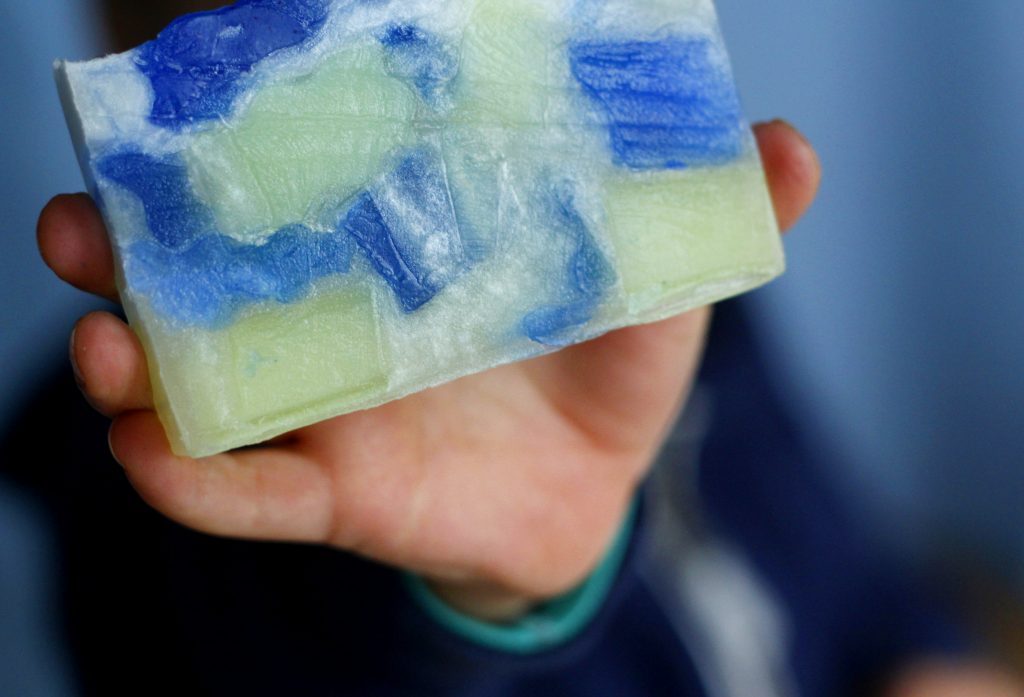
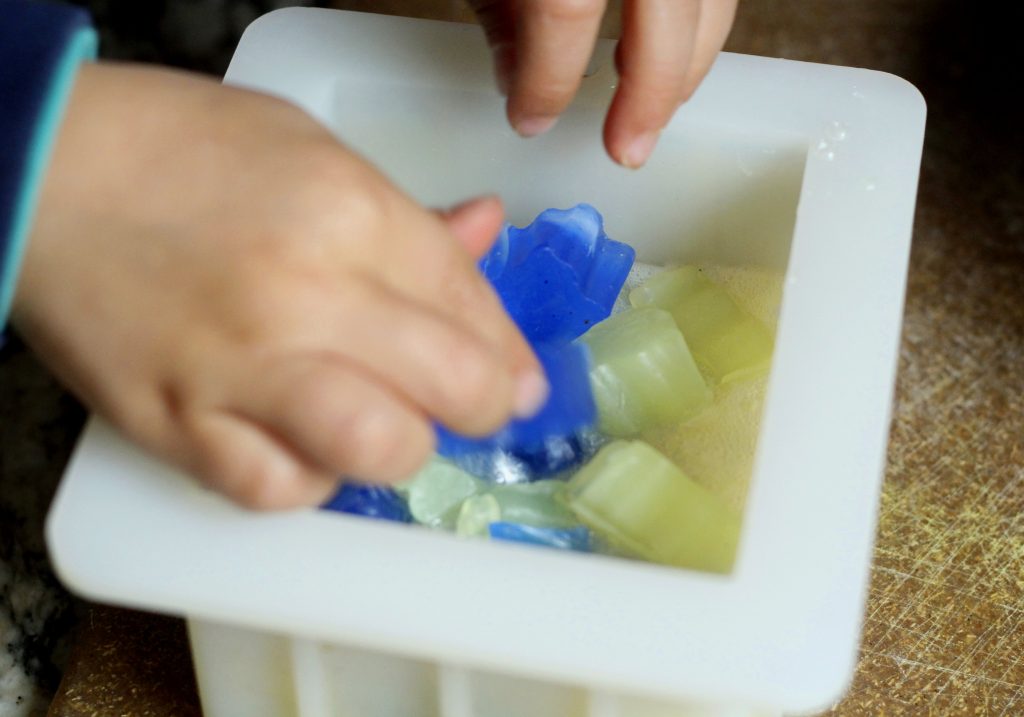
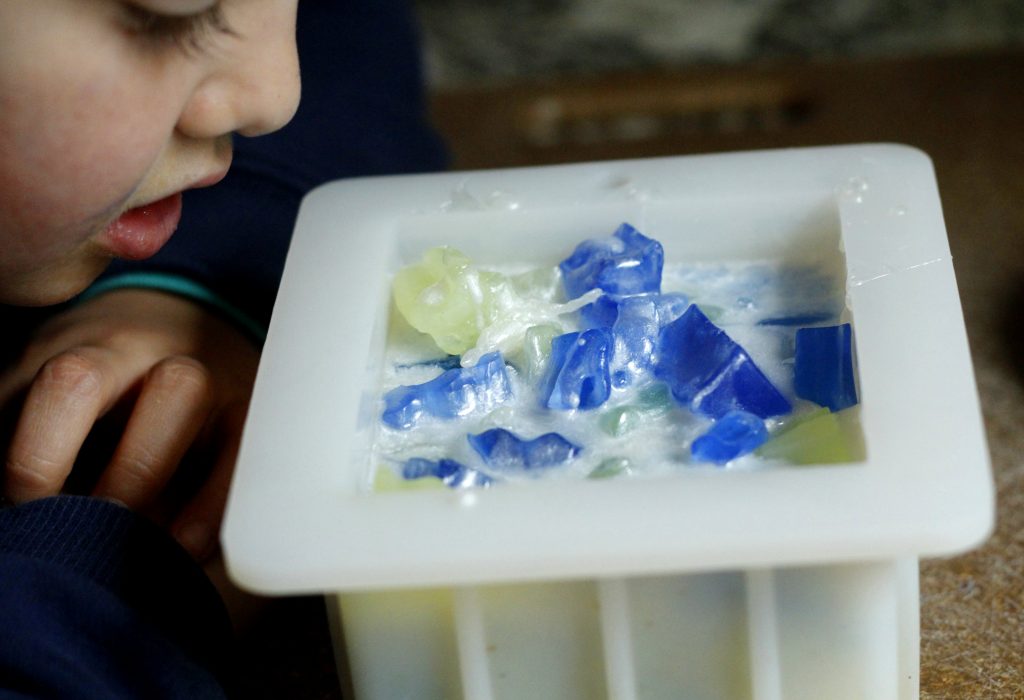
- Now you or your child can drop the colorful soap pieces into the white soap. Small had so much fun with this, he thought they were sinking into hot lava!
- When all of the pieces are in the mold pour the rest of the soap on top of everything. The mica in the soap will give the soap a nice shimmer on top.
- Spritz top of the soap with rubbing alcohol to pop any little air bubbles.
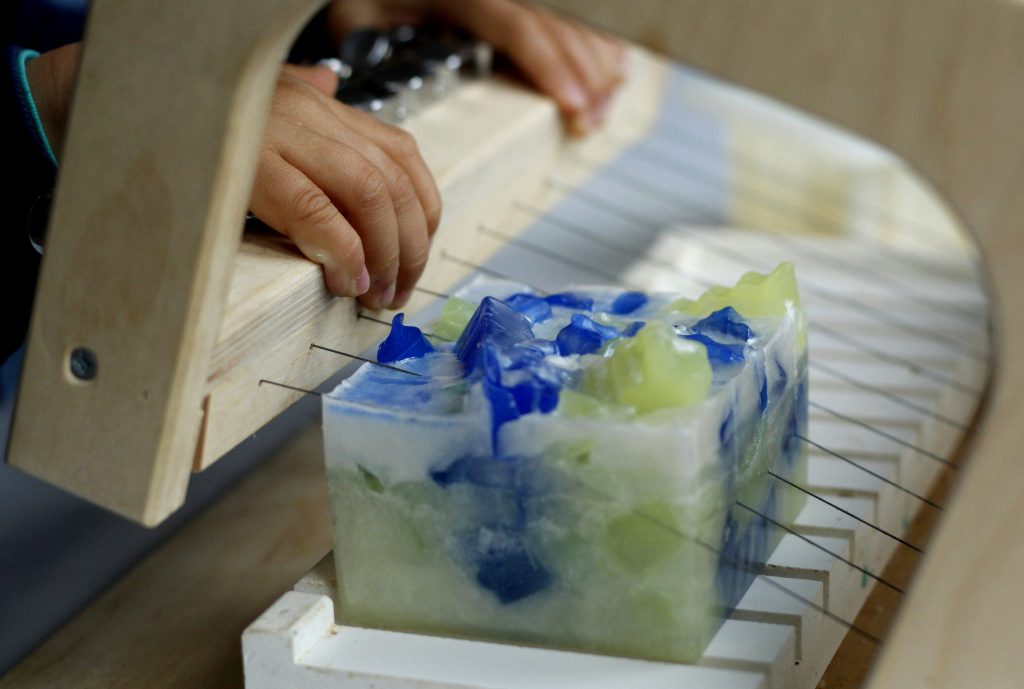
- Let soap cool, then unmold (you have to pull on the sides of the mold first, then gently press on the bottom) and cut into bars. We used my wire cutter when the soap wasn't too hard yet, if the soap is fully cooled it might be better to use a sharp knife.
Until next time. Happy Tinkering!

debbie hughes
2 cute!! My granddaughter will go crazy over this. Thank you
Celine
Thank you Debbie! Hope you have fun 🙂