Homemade face serums are easy to DIY and deliver wonderful skin benefits. They will leave your skin replenished and glowing while catering to the specific needs of your skin type.
Jump to:
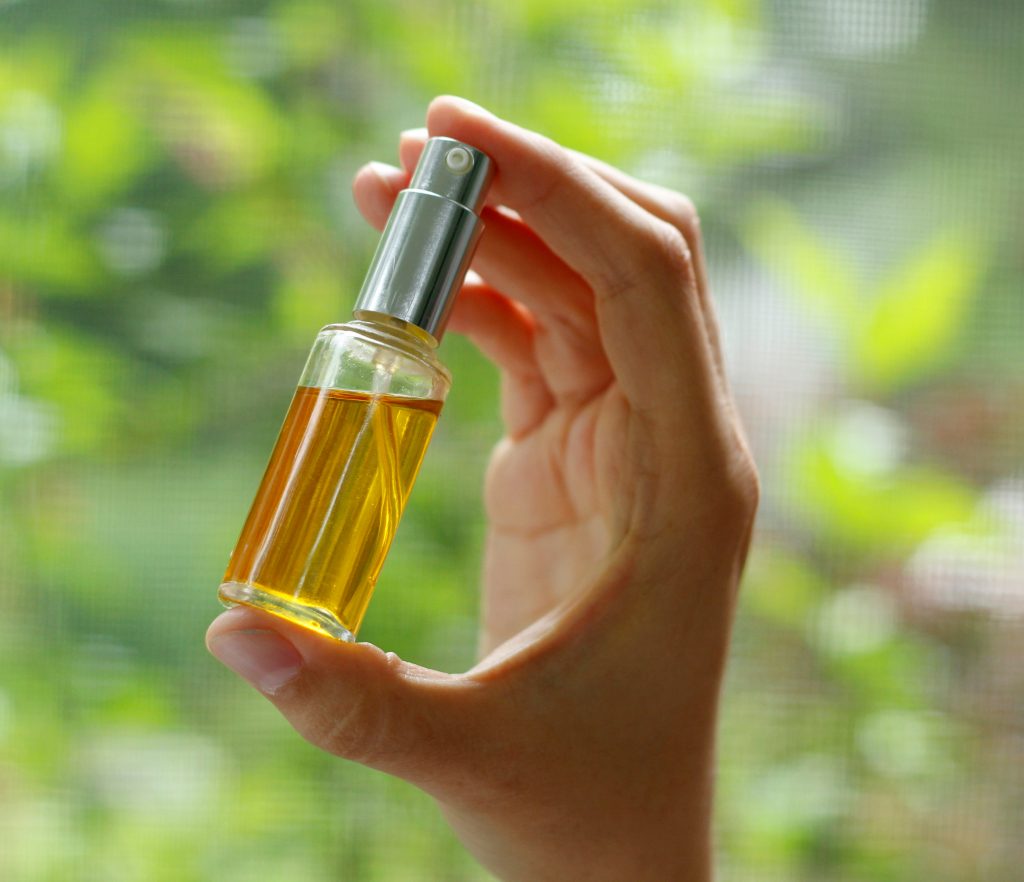
Making a DIY face serum can be as simple as combining 2 oils that you might already have in your home. You will feel the skin benefits even if you don't go for a luxury face oil right away.
I like to use it after cleansing with my homemade facial soap or after treating my skin with a nourishing face mask. It feels great on the skin!
What is a face serum?
A facial serum is a cosmetic product that contains highly concentrated, precious active ingredients that target specific skin care needs. Serums are water or oil based and are easily assimilated by the skin.
Face serums can be a great choice for mature skin due to their many anti-aging properties. They do a great job in reducing fine lines, improving skin tone and skin elasticity by increasing collagen production. But they can also be very beneficial for sensitive skin, oily skin, acne-prone skin, treating sun damage, reducing age spots and the appearance of scars.
Face serums can be very expensive and contain the most precious and rare ingredients. Homemade face serums can be a great way to cut down on cost and enable you to make them part of your normal skincare routine.
How to Use a Face Serum?
- Serums can be used mornings and nights on clean skin (damp skin if using oil based serum)
- Warm 2-3 drops in palm of your hands
- Gently pat onto face until fully absorbed
- Apply moisturizer or night cream after serum
Basic Ingredients
These are some basic ingredients that are beneficial for every skin type.
Disclosure: This post contains affiliate links. Read my full disclosure here.
Carrier Oils
- Sunflower oil: very nourishing and similar to skin sebum, filled with vitamin A, D, E and essential fatty acids. Alternative: Safflower oil
- Olive oil: deeply nourishing, full off vitamins, minerals and fatty acids. A great candidate for infusing with calendula which will give it exceptional skin healing properties
- Grapeseed oil: non-greasy, light and very easily absorbed by the skin
- Jojoba oil: very similar to the skin's composition and deeply penetrating, easily absorbed and leaves no oily residue, has a very long shelf life
- Sweet almond oil: very nourishing with high amounts of fatty acids, absorbs easily
- Sesame oil: highly nourishing, regenerative and anti-inflammatory properties. Use cold pressed, raw oil, NOT roasted.
Essential Oils
Essential oils can enhance your face serum in a wonderful way and give it a beautiful aroma. Nevertheless they're potent ingredients that need to be diluted before applying to the skin. As a rule of thumb: 10-12 drops of essential oil should be diluted in 1 oz. (2 Tbsp) of carrier oil.
- Chamomile: anti-inflammatory, regenerative, can help reduce scars and soothe skin irritation and dryness
- Lavender: calming and anti-septic, healing for a wide array of skin conditions including acne, dark spots and wrinkles
- Frankincense: Anti-bacterial and toning properties, beneficial and balancing for all skin types
- Myrrh: filled with antioxidant and moisturizing properties, it can help fade blemishes and restore healthy skin by healing chapped, dry patches
- Sweet orange: high in Vitamin C, it's astringent property contributes anti-aging benefits, can help fade dark spots and acne scars
Equipment
- 1 oz glass bottle with dropper
- small funnel
- measuring spoon
How to Make Homemade Face Serum?
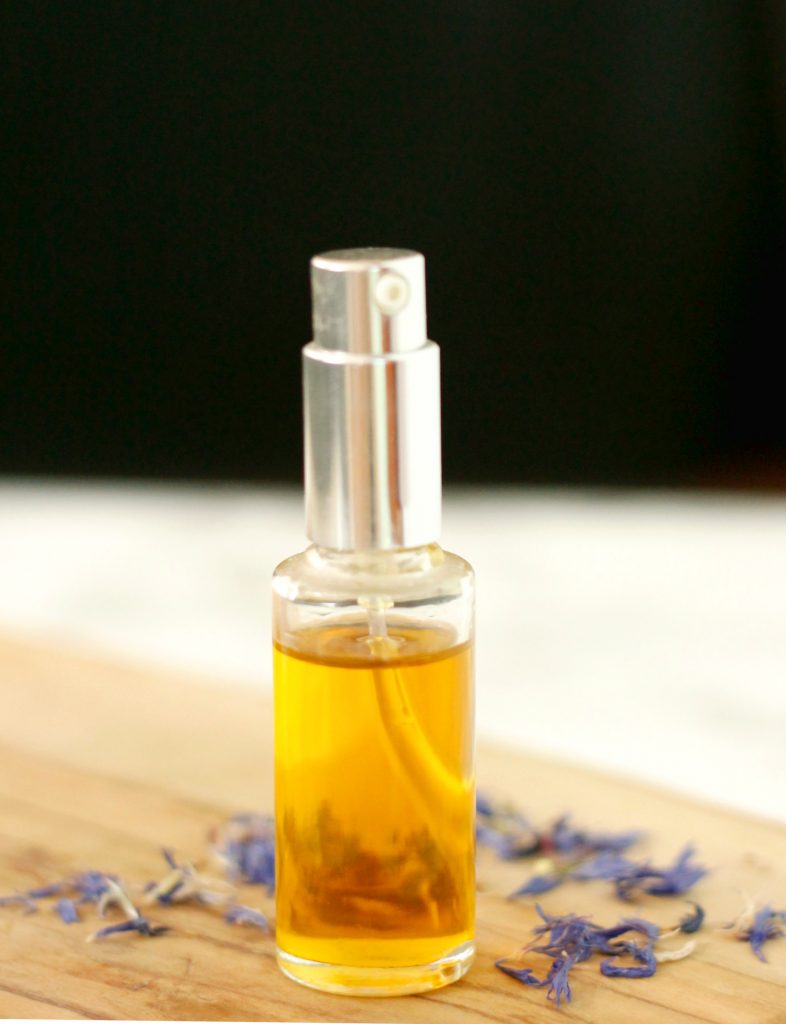
The easiest serum to make at home is oil based. It requires no synthetic preservatives and can be whipped up in a few minutes. Keep in mind though that the lack of water also means that a face oil serum WON'T hydrate your skin. Be sure to follow up with an hydrating moisturizer.
- Choose one or two carrier oils from above list
- Choose one or two essential oils
- Place small funnel in dropper bottle
- Add 1 tablespoon of carrier oil
- Add 1 tablespoon of a different carrier oil
- Add 10-12 essential oil (one oil or a combination of two)
- Screw lid on
- Shake bottle a few times
6 Homemade Face Serum Recipes for Every Skin Type
For Mature/ Aging Skin:
- 1 tablespoon rosehip seed oil
- ½ tablespoon jojoba oil
- ½ tablespoon vitamin e oil
- 5 drops sweet orange essential oil
- 5 drops frankincense essential oil
For Blemishes/ Scars:
- 1 tablespoon olive oil or calendula infused olive oil
- 1 tablespoon evening primrose oil
- 5 drops myrrh essential oil
- 5 drops frankincense essential oil
For Dry Skin:
- 1 tablespoon jojoba oil
- 1 tablespoon rosehip oil
- 5 drops geranium essential oil
- 5 drops myrrh essential oil
For Oily/ Acne Prone Skin:
- 1 tablespoon hazelnut oil
- 1 tablespoon jojoba oil
- 5 drops lavender essential oil
- 5 drops clary sage or tea tree essential oil
For Combination Skin:
- 1 tablespoon jojoba oil
- 1 tablespoon apricot kernel oil
- 5 drops geranium essential oil
- 5 drops lavender essential oil
For Normal Skin / Dry Skin:
- 1 tablespoon argan oil
- 1 tablespoon grape seed oil
- 5 drops sweet orange essential oil
- 5 drops frankincense essential oil
Can Face Oil Replace Moisturizer?
With so many skincare products on the market, it can be confusing to know what to use and when. Serums, face oils, and moisturizers each have a different job, but they all have their place in our daily skincare routine. Find out more in my post: Can face oil replace moisturizer?
FAQs
Homemade serums should last at least 6 months. If you detect a rancid smell don't use and discard.
This homemade serum is completely oil-based and contains no water. You will not need to add a preservative.
I do not recommend adding any liquid/ water based ingredients to this formula. You will need to add a synthetic preservative if you do so, since you run the chance of mold developing.
How to Make Face Serum at Home (printable)
Homemade face serums are easy to DIY and deliver wonderful skin benefits. They will leave your skin replenished and glowing while catering to the specific needs of your skin type.
Materials
- 2 tablespoon Carrier oils (see recipes below for specific ones)
- 10-12 drops essential oils (see recipes below)
Tools
- 1 oz glass dropper bottle
- small funnel
- measuring spoon
Instructions
- Choose one or two carrier oils
- Choose one or two essential oils
- Place small funnel in dropper bottle
- Add 1 tablespoon of carrier oil
- Add 1 tablespoon of a different carrier oil
- Add 10-12 essential oil (one oil or a combination of two)
- Screw lid on
- Shake bottle a few times
6 Homemade Face Serum Recipes for Every Skin Type
For Mature/ Aging Skin:
- 1 tablespoon rose hip seed oil
- 1 tablespoon jojoba oil
- 5 drops sweet orange essential oil
- 5 drops frankincense essential oil
For Blemishes/ Scars:
- 1 tablespoon olive oil or calendula infused olive oil
- 1 tablespoon evening primrose oil
- 5 drops myrrh essential oil
- 5 drops frankincense essential oil
For Dry Skin:
- 1 tablespoon jojoba oil
- 1 tablespoon rose hip seed
- 5 drops geranium essential oil
- 5 drops myrrh essential oil
For Oily/ Acne Prone Skin:
- 1 tablespoon hazelnut oil
- 1 tablespoon jojoba oil
- 5 drops lavender essential oil
- 5 drops clary sage essential oil
For Combination Skin:
- 1 tablespoon jojoba oil
- 1 tablespoon apricot kernel oil
- 5 drops geranium essential oil
- 5 drops lavender essential oil
For Normal/ Dry Skin:
- 1 tablespoon argan oil
- 1 tablespoon grape seed oil
- 5 drops sweet orange essential oil
- 5 drops frankincense essential oil

Cari
These are all great oils! I have oily skin, so I have to be careful with serums, but this shouldn't be overly oily.
Celine
Hi Cari,
none of the oils are comedogenic nor overly greasy. I think you should be fine. Start with a small amount once a day.
Barre
So we don’t need to shake these babies up on a shaker machine?
Lisa3002
I'm new to soap making (love your recipes) and I'm learning more and more about essential oils. I see that this serum (next on my list of your recipes) is in a clear bottle. I've read essential oils should be in an amber glass bottle. Your thoughts?
Celine
Hi Lisa, amber or even blue bottles keep UV light from damaging your essential oils. I use a clear bottle here since I keep my face serum in a cabinet away from sunlight and especially in the winter I use it up pretty quickly so I’m not that concerned with a long shelf life. So it depends on your storage and use. Hope that helps. Glad you enjoy the recipes 😊