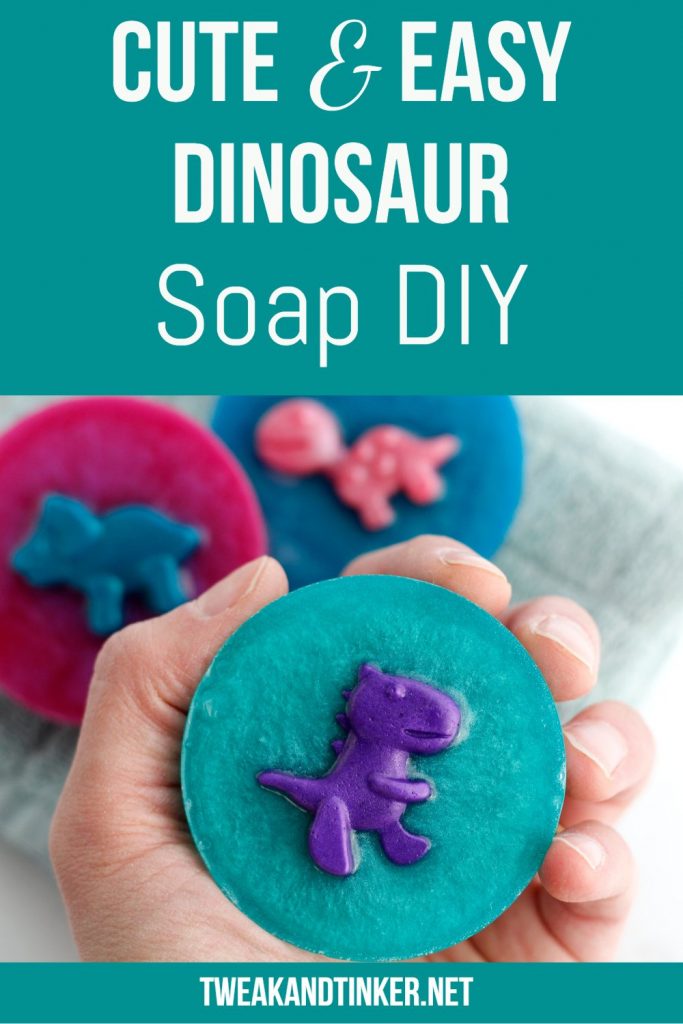
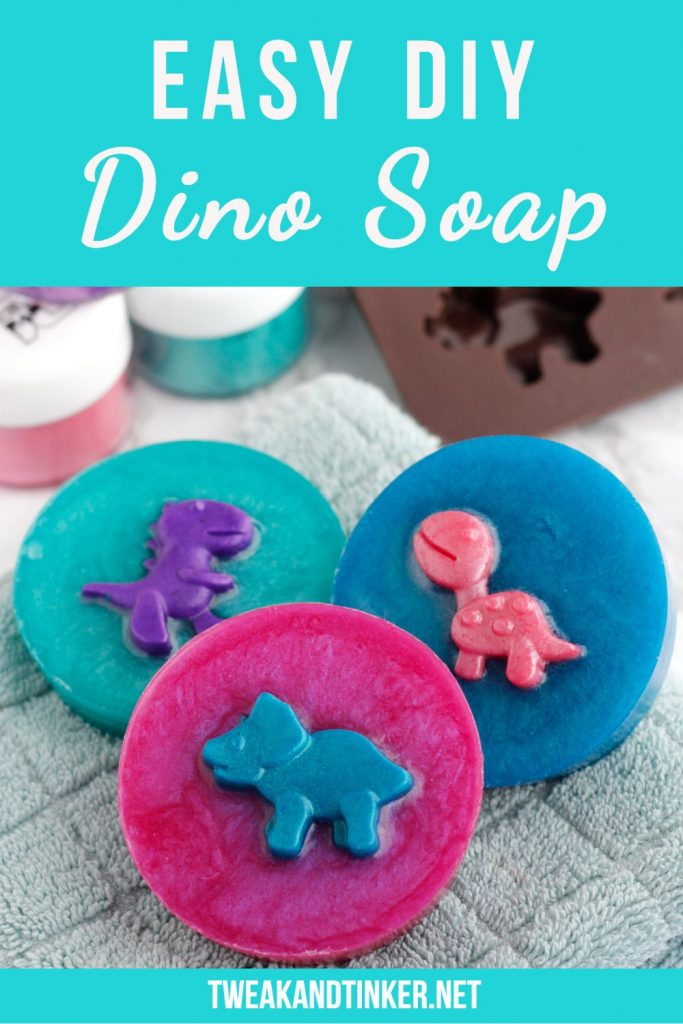
I'm a cold process soap maker through and through, but sometimes you just gotta love the convenience and easy handling of melt and pour soap. It's great for quick and easy projects and I like that I can melt small amounts of material and pour it into tiny molds to create cute details. Melt and pour soap is also great if you want to get your kids involved, like I did last year with my son.
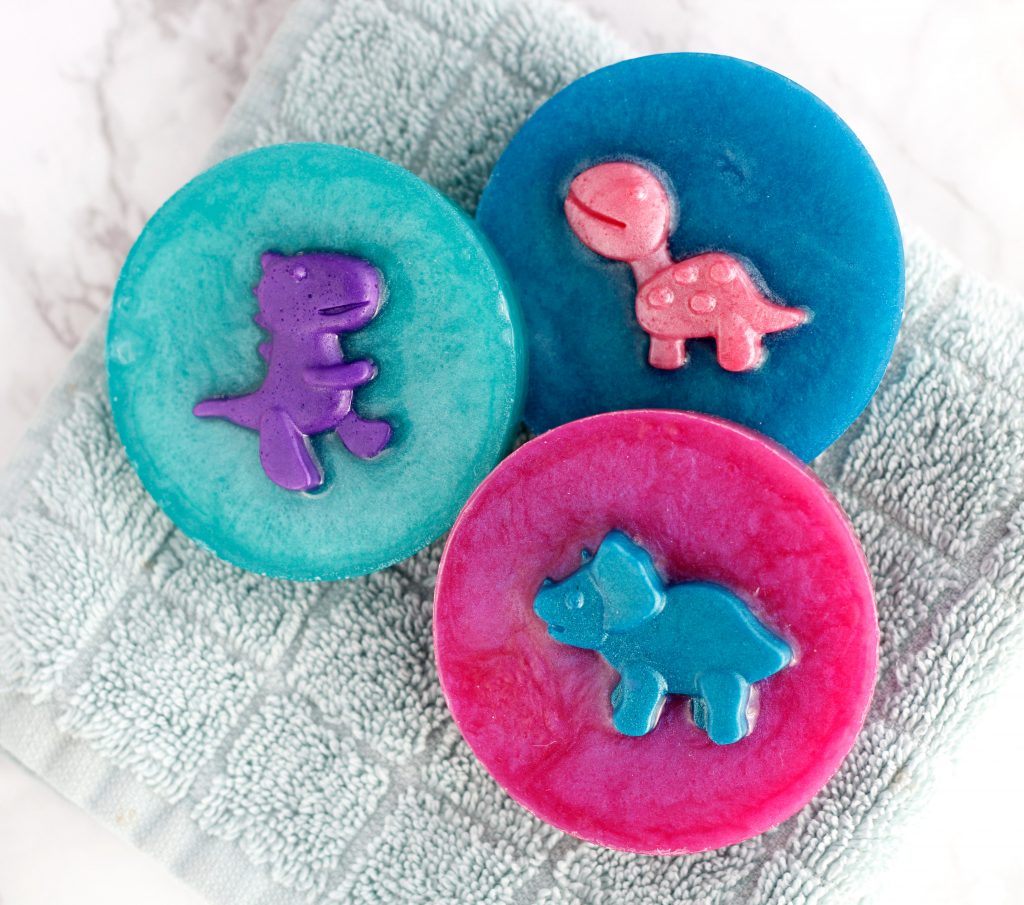
I wanted to surprise my kids with these little soaps. They loved the "Dino Bombs" from a couple of months ago so, I was sure they'd love these dinosaur melt and pour soaps as well.
Melt and pour soap can also be customized in many ways to really express your creativity. So, if you'd like to use different colors or even a different mold other than my dinosaur one, please do! Have fun with it!
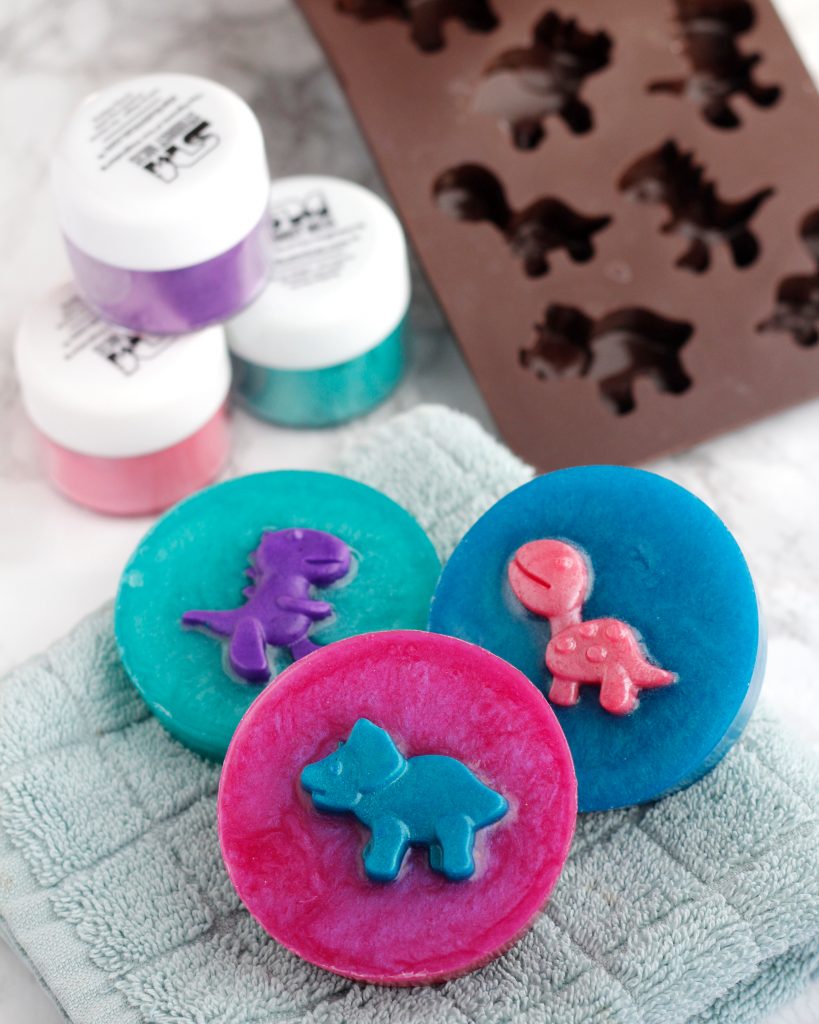
Here's what you'll need:
Disclaimer: This post containes affiliate links, meaning at no additional cost to you will I earn a commission if you decide to click through and make a purchase.
Equipment:
- Dinosaur Silicone Mold
- Round Soap Mold
- Small Glass Measuring Cup
- Small Plastic Spoon or Spatula
- Spray bottle for rubbing alcohol
For the Soap:
- Clear Melt and Pour Soap Base
- Mica Colors (I used this set and paired together violet petal-tall green, blue lagoon-sunset pink, pink watermelon-blue lagoon)
- Lavender or Sweet Orange Essential oil
- 99% Isopropyl Alcohol
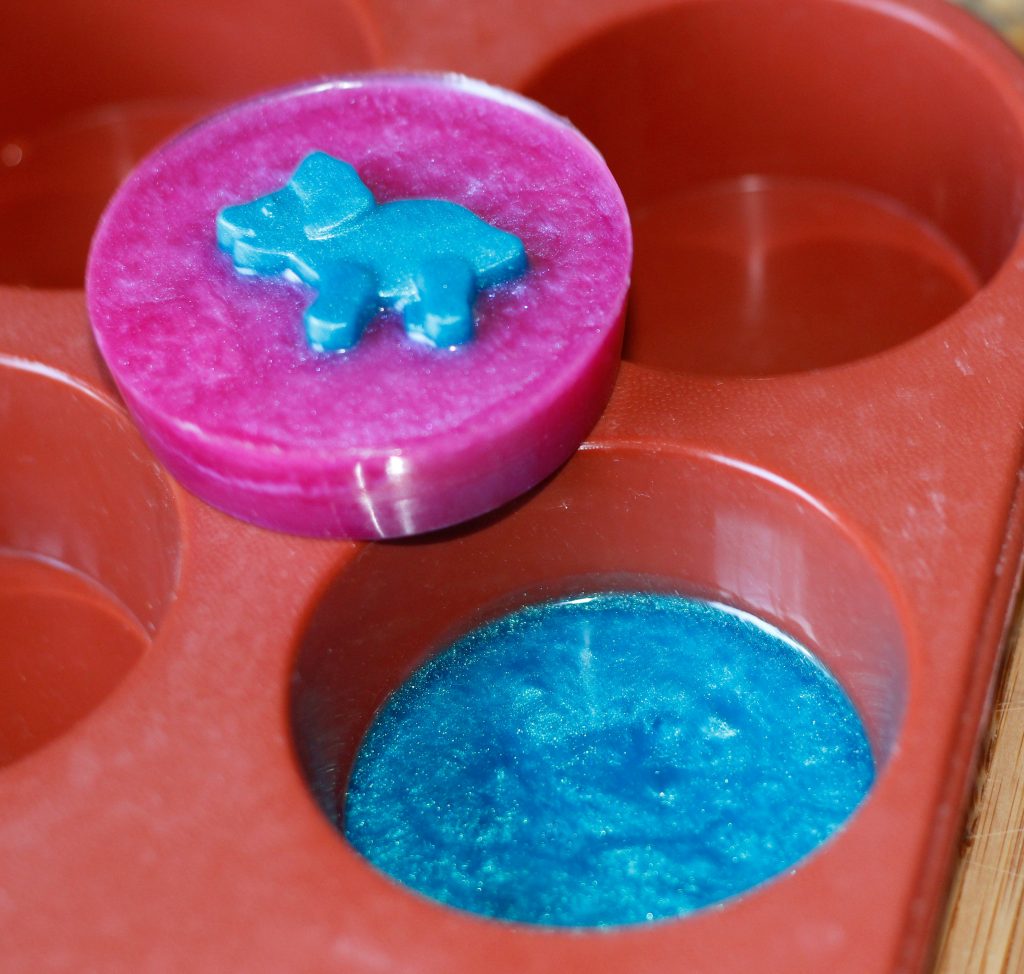
Instructions for 6 round dinosaur melt and pour soaps (if you wish to make more than one color, split the amounts in half and color the other half differently):
- For the dino embeds: melt 2 ½ cubes of melt and pour soap base (about 50g) in a glass measuring container in a water bath over medium heat or in the microwave at 20-30 second burst.
- Disperse ⅛ teaspoon of mica powder of your choice in ¼ teaspoon of alcohol in a small container
- Take soap base off the heat source and add dispersed mica and 7 drops of essential oil by stirring with a small plastic spoon or spatula
- Carefully pour the soap into the cavities of the dinosaur mold
- Let sit until fully cooled (15-20 minutes)
- Rinse and remove any residue from glass container, dry
- For the soap rounds: melt 8 cubes of soap base (around 350 g) in the glass container in a water bath over medium heat or in the microwave in 20-30 second bursts
- Disperse ¼ teaspoon of mica of your choice with ½ teaspoon of rubbing alcohol
- Stir mica and 30 drops of essential oil into the melted soap base
- Pour soap base into 6 round molds filling each about ¼ of the way up. Note: you will have soap left in your container for the next step!
- Spray surface of the soap with rubbing alcohol and let sit to fully cool and harden (about 20 minutes)
- Cover the remainder of the melted soap with plastic wrap while waiting
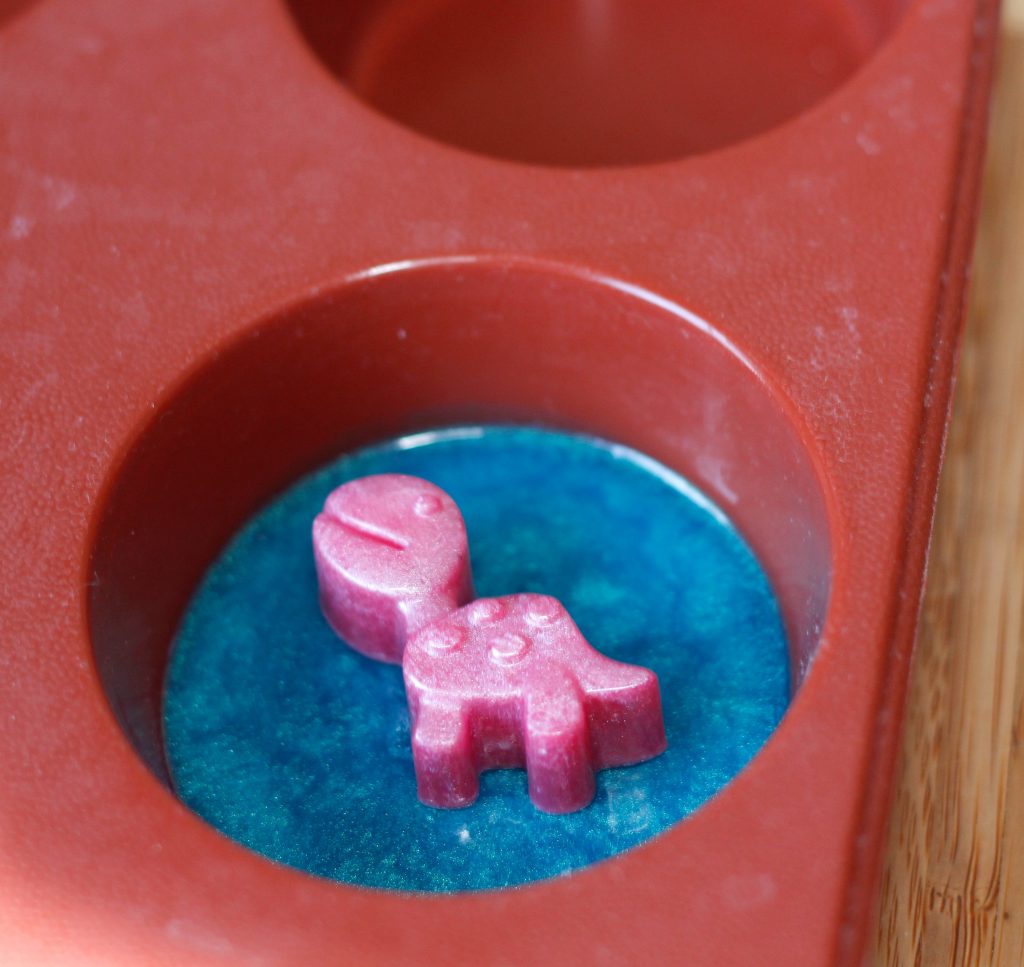
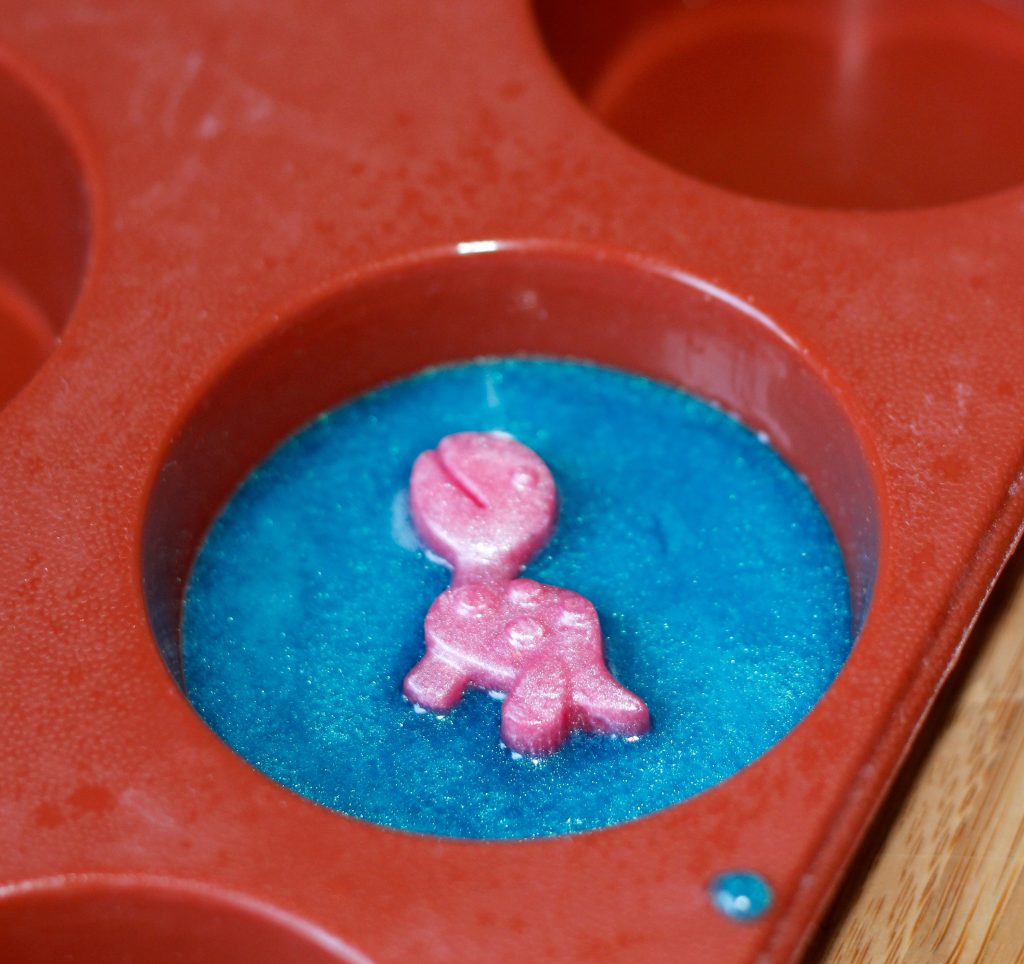
- Once soap is cooled, unmold dinosaur embeds and place each one in the middle of a soap round
- Heat the remainder of the soap up again and pour into the mold around dino embed up to where the detail on top is still sticking out
- Spray with rubbing alcohol and let cool
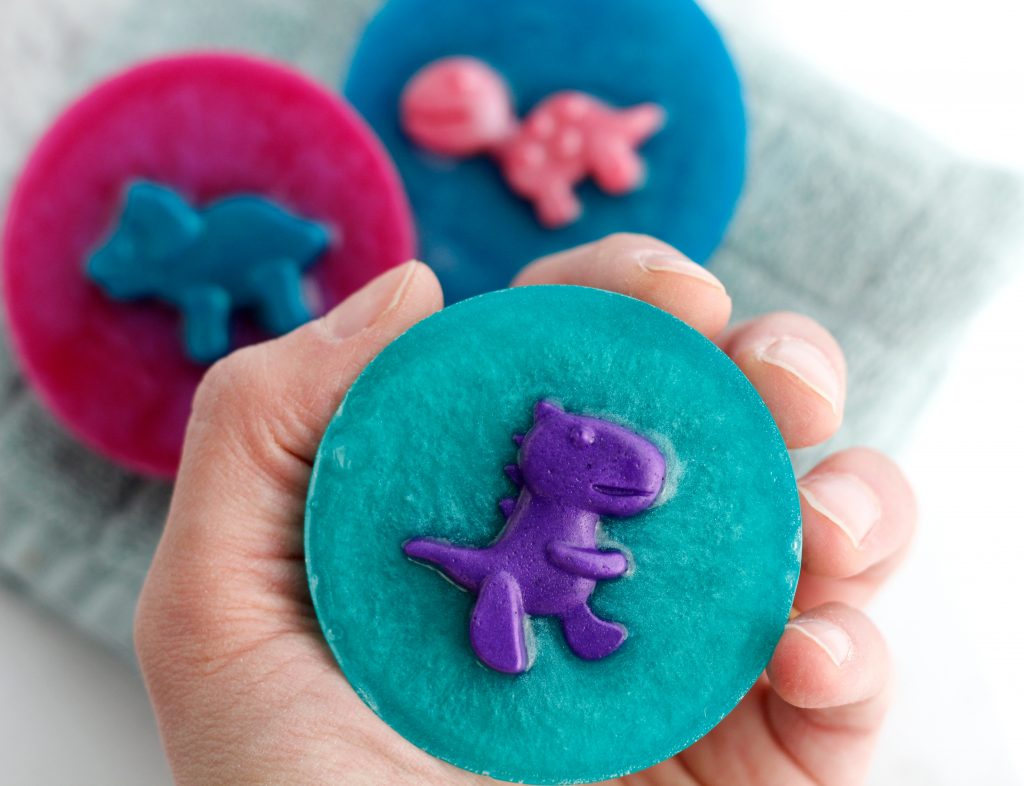
- Take dinosaur melt and pour soaps out of the mold and store in an airtight container or small plastic bag to protect from moisture
Until next time. Happy Tinkering!

Lois
So very sweet. Thank you!
Celine
Aww, you’re welcome.
Disha
Beautiful