What could be better than Oreo cookies? - Chocolate covered Oreos, of course. Let me show you how fun and easy they are to make. For this chocolate-covered Oreos recipe, I'm using a mold that makes them come out perfect every time.
You can make these cookies as an easy treat or a quick no-bake dessert. Or you can decorate and package them for a special occasion like Valentine's Day, or party favors for a baby shower and birthday parties. Your imagination is the limit here, these Oreo cookie treats are totally customizable and require only 3 ingredients!

Jump to:
Disclaimer: this post contains affiliate links, you can read my full disclosure here.
Why use a mold for this?
For this project, I chose to use a round silicone mold and I recommend doing this for several reasons. One, it makes way less of a mess: there's no excess chocolate dripping everywhere, you don't have to worry about drying the cookies on a baking sheet, and if your kids want to help it won't be as sloppy of a process either. Two, the Oreos come out perfectly with a smooth finish every time looking uniform and professional. And lastly, you can let everything cool down and harden in the mold, and when you're ready the Oreo pops right out of the mold - easy peasy! As a bonus, you can look for cute shapes, like these flower molds. When choosing a mold be sure that the Oreo will fit in it with some space to spare.
What kind of chocolate to use for chocolate-covered Oreos?
Since we're only using 3 ingredients for this recipe, using high-quality chocolate can really make a difference in taste. I really like Ghirardelli chocolate chips for projects like this. Here, I chose white chocolate to make the sprinkles stand out more, but you can use dark chocolate or milk chocolate as well. Chocolate melts or almond bark will work as well especially if you're looking for different colors.
Read also: Valentine's Day Chocolate Covered Pretzels
Ingredients
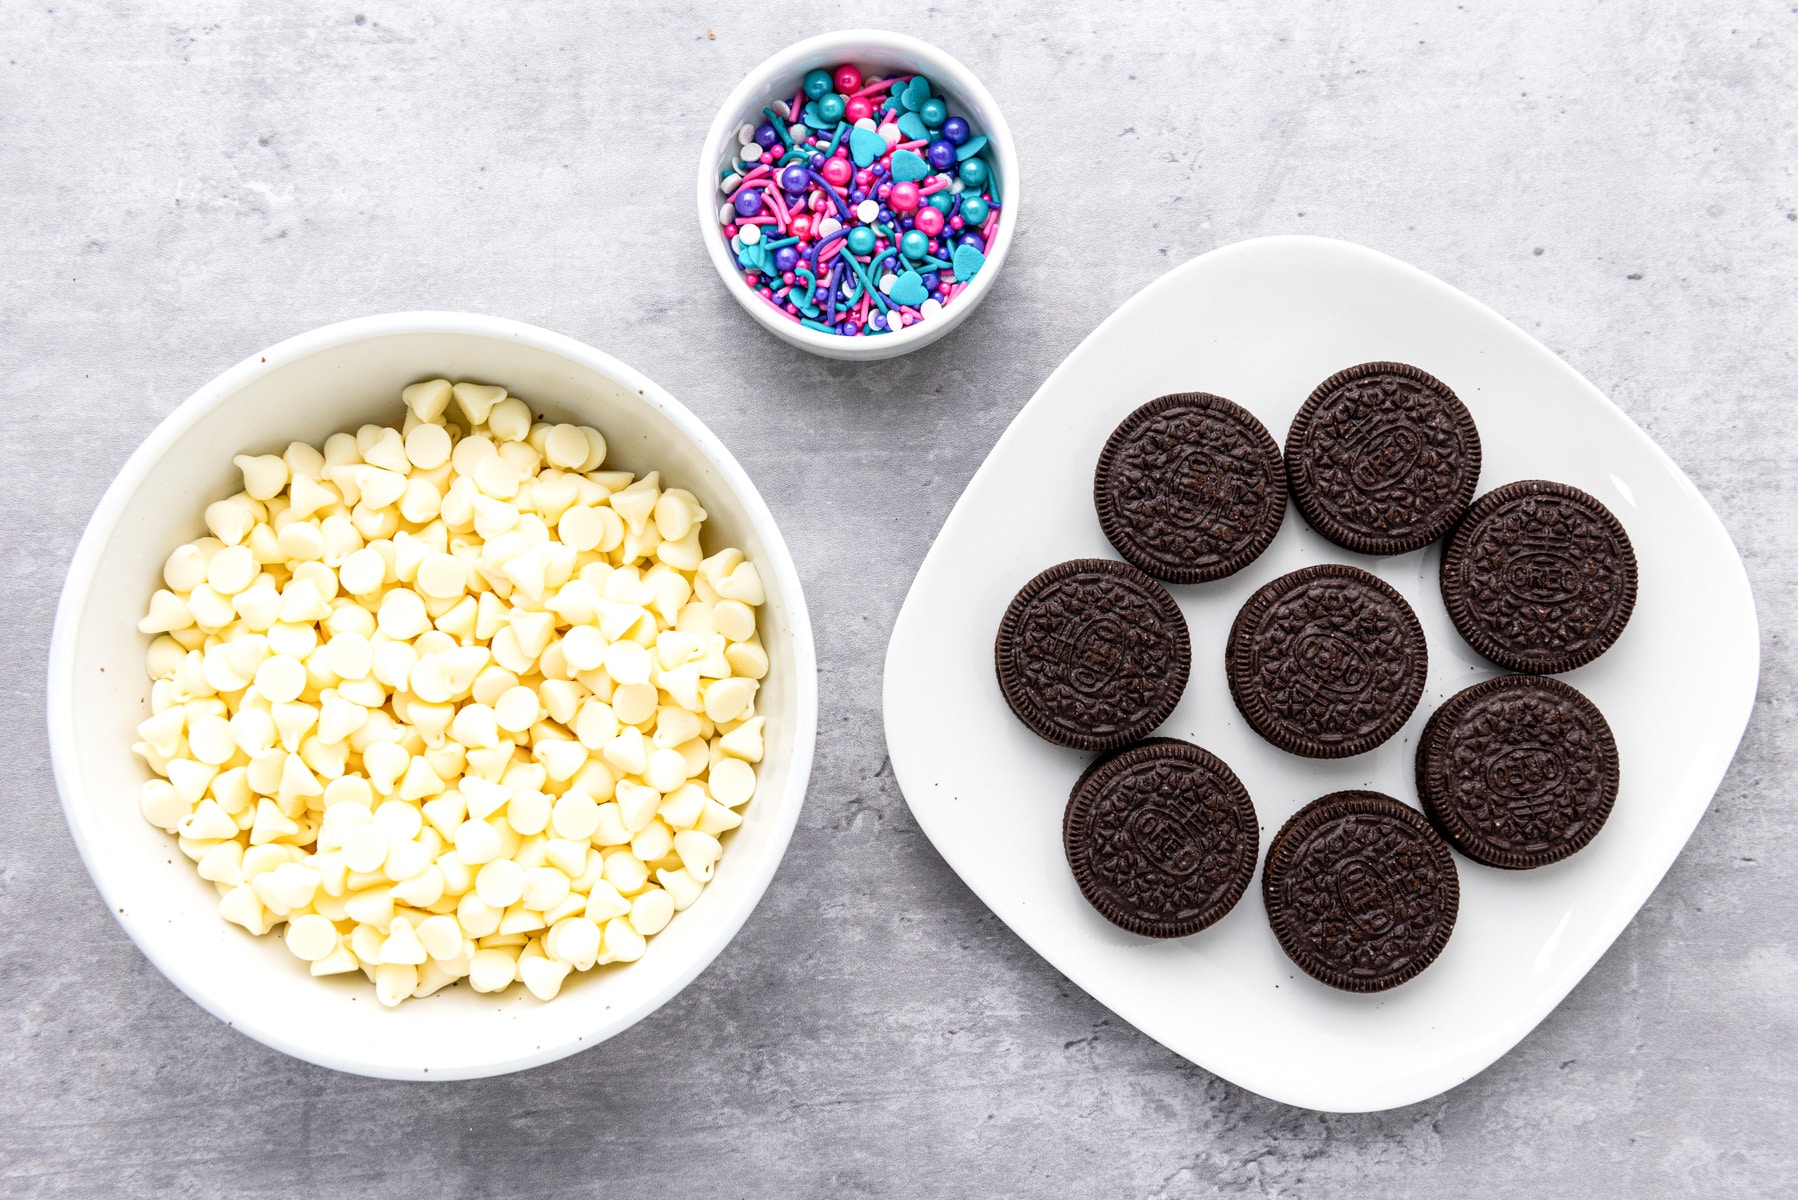
- Oreo sandwich cookies - I used the traditional cookie, but you can opt for mint Oreos, peanut butter, or birthday cake-filled ones.
- White chocolate chips
- Decorative sprinkles (of your choice)
See recipe card for quantities.
How to Make Chocolate-Covered Oreos

- In a microwave-safe bowl melt chocolate in the microwave in 30-second increments, for about 2 minutes, or until fully melted. Make sure to scrape the side of the bowl in between each time. You can also use a double boiler for this (see instructions below).
- Scoop a spoonful of melted chocolate into the Oreo mold, so that the bottom is covered with chocolate.

- Place an Oreo on top of the chocolate, and slightly push down.
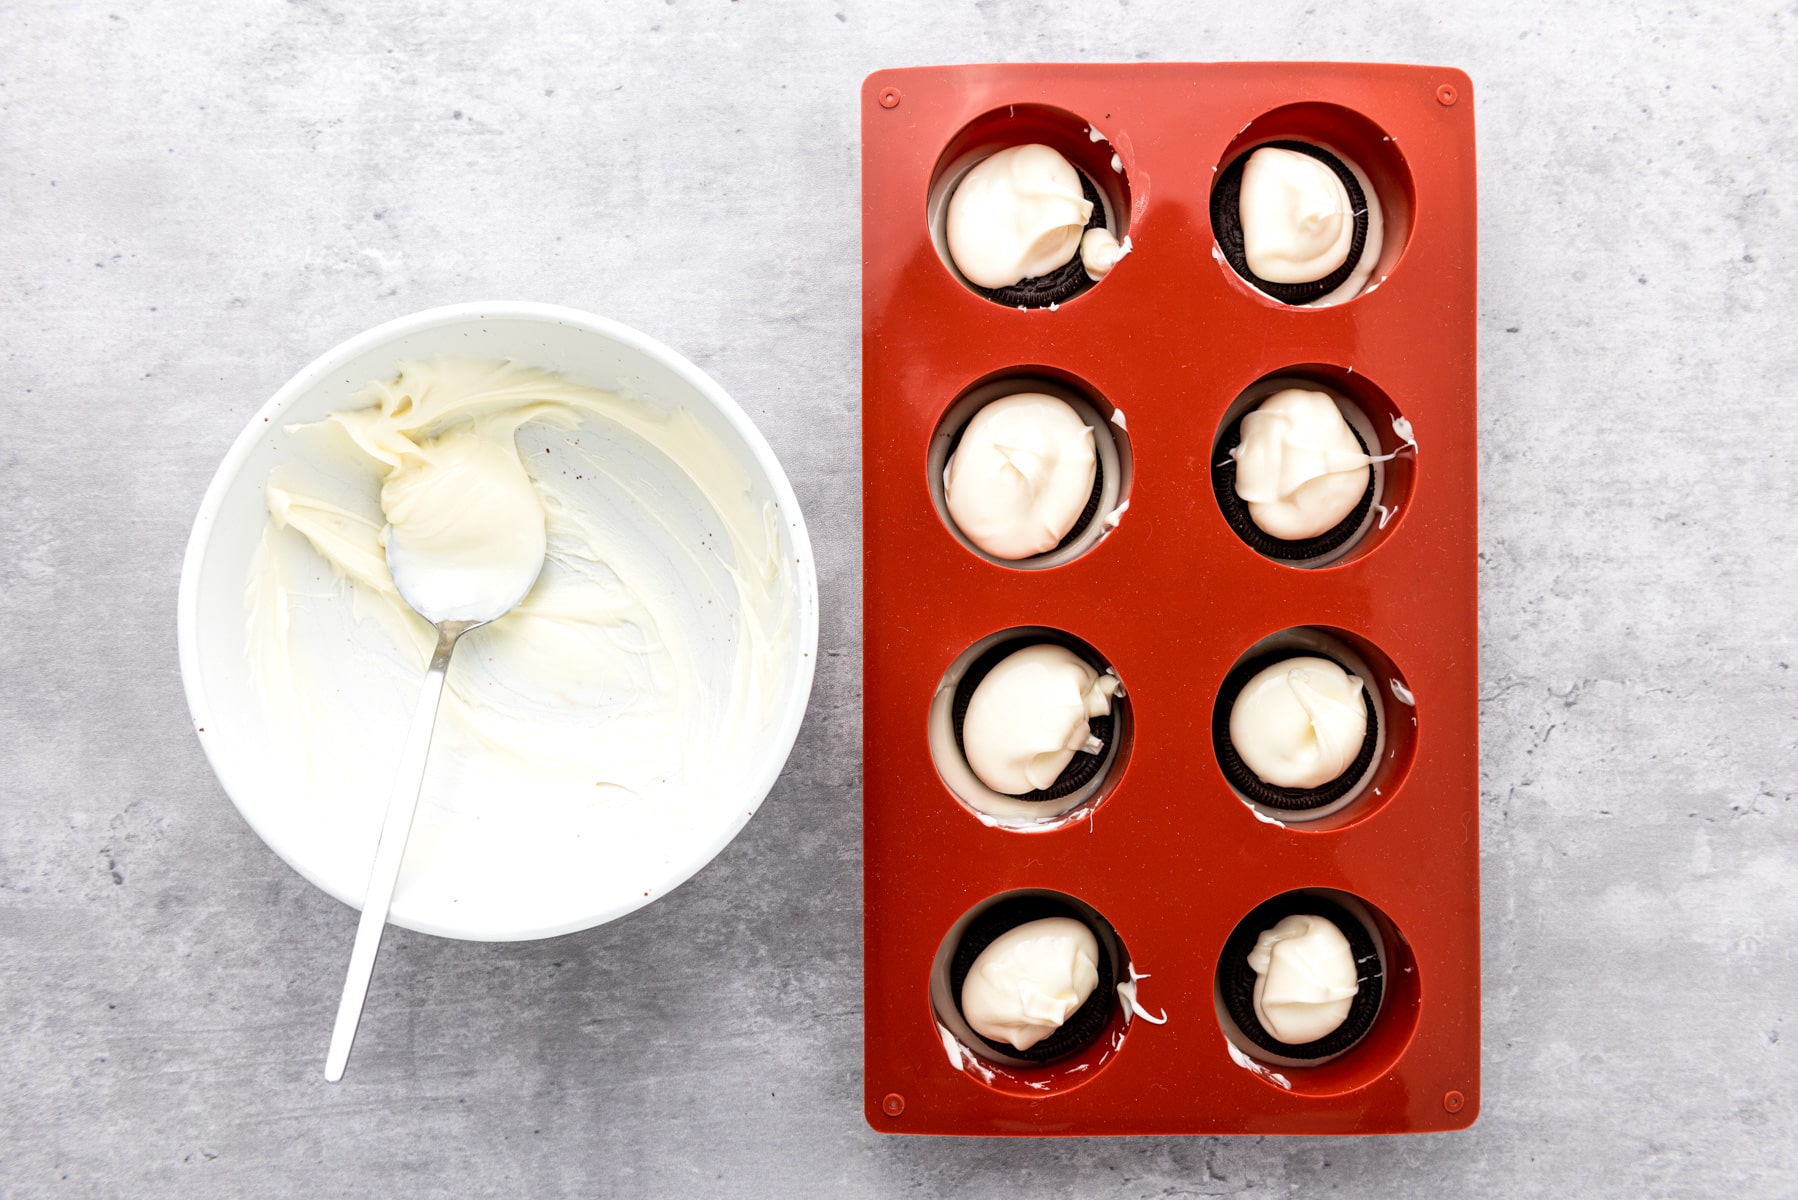
- Place another scoop of melted chocolate on top of the Oreos and shake the mold until all chocolate is covering the Oreos evenly.
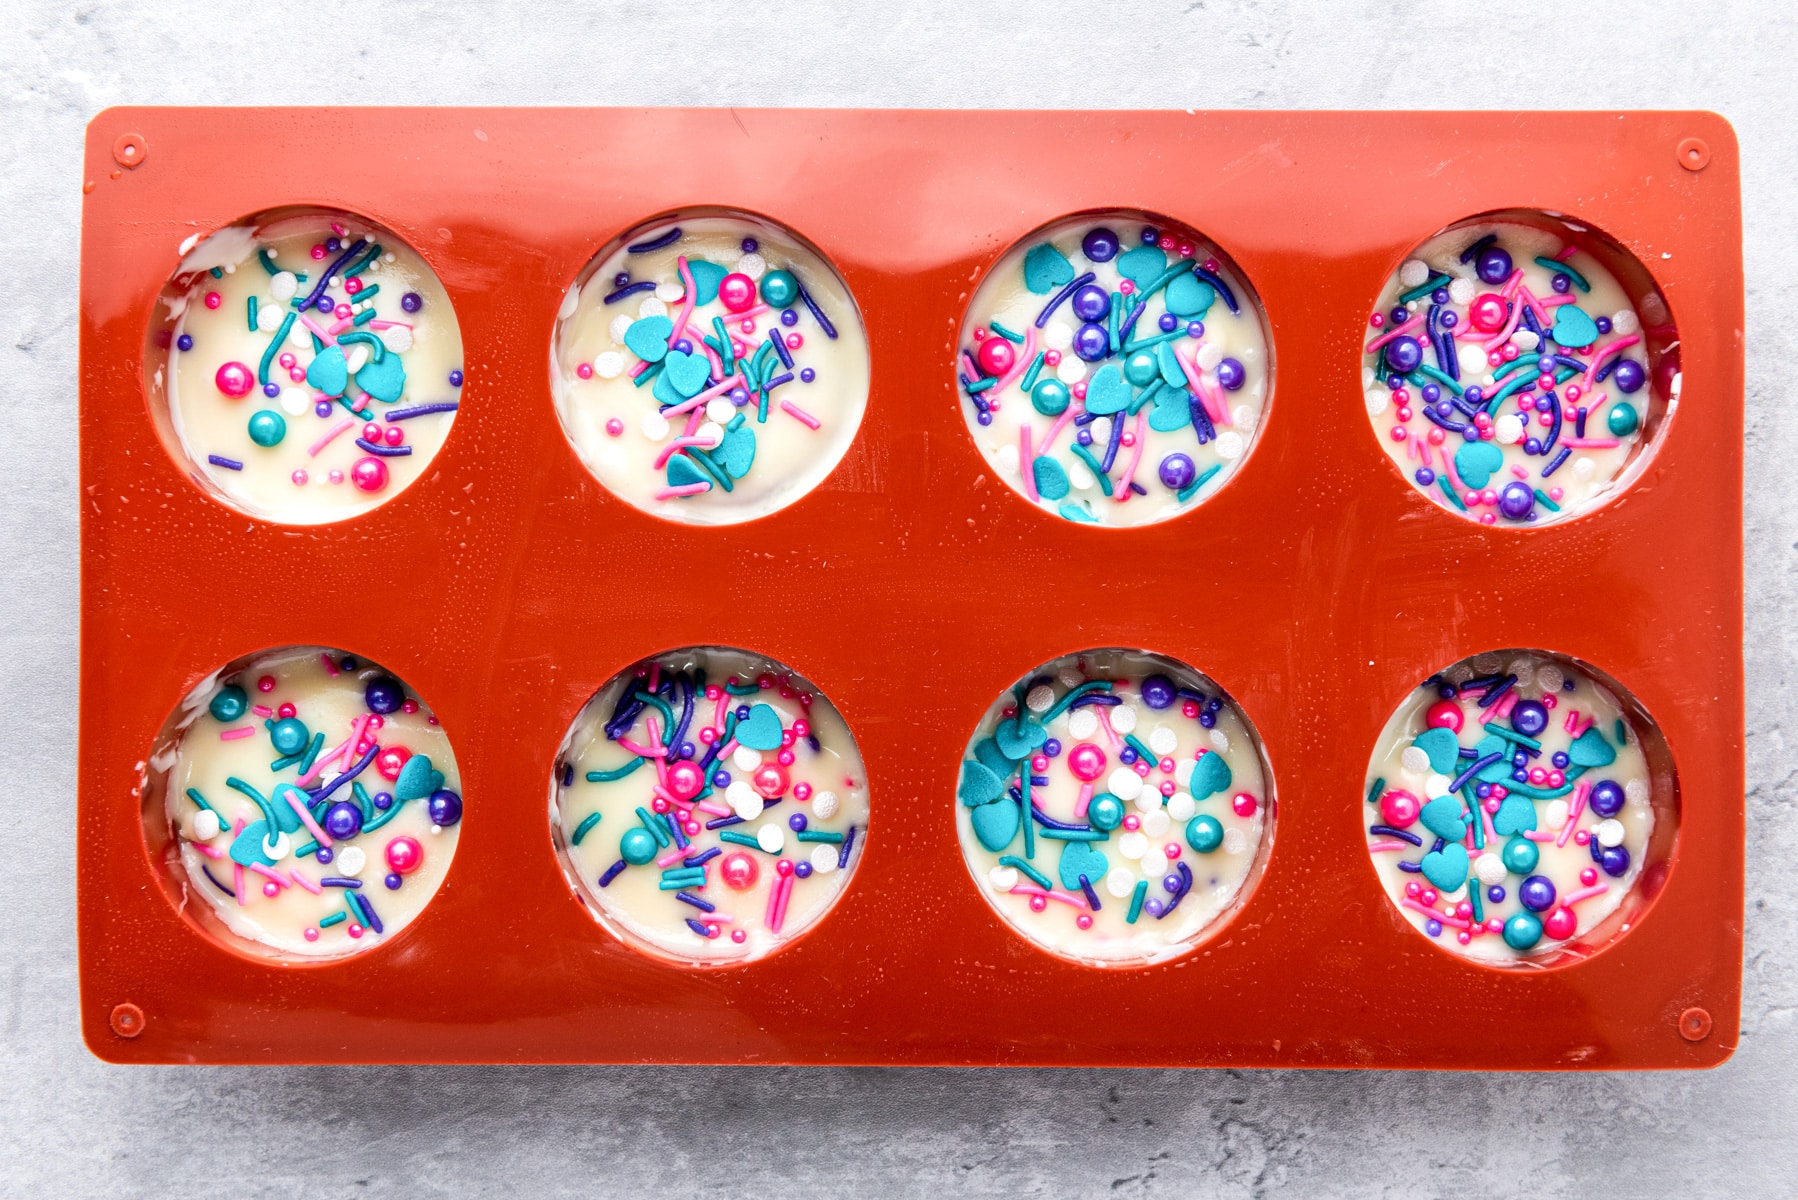
- Top with your favorite sprinkles
- Put in the fridge for at least a half hour, until solid.
- Remove from mold by gently pushing on bottom and package in an airtight container or cellophane bags.
Hint: It's important not to overheat and scorch the chocolate. The chocolate chips may not appear melted, but if you stir them in between heating, you'll see how soft they are.
Equipment
As I mentioned earlier having a mold is neat, but is not a must. You can dip the Oreos in the melted chocolate using a fork as a dipping tool. Afterwards, you can decorate and dry them on a piece of wax paper.
Using a makeshift double boiler is my preferred method for melting chocolate since there's less chance of overheating and burning it. Simply fill a small saucepan with a couple of inches of water and set it on medium heat. Then choose a glass bowl that's slightly bigger than the saucepan so it will sit on top and seal in the heat. Add the chocolate chips to the bowl and gently stir while they're melting.
Storage
Stored in an airtight container at room temperature these cookies will be good for 2-3 weeks. If you're making party favors or gifts make sure that you seal the plastic bags tight. When making these ahead of time keep in mind that at some point the Oreos will start to get soft. So, the sooner they're being eaten the better 😉
More decorating ideas
- Sprinkles Galore: Dip the chocolate-covered Oreos in a variety of colorful sprinkles, such as rainbow sprinkles, nonpareils, or themed sprinkles to add a burst of color and fun.
- Crushed Candy Toppings: Roll the chocolate-dipped Oreos in crushed candies like M&M's, Reese's Pieces, or candy canes for a delicious crunchy texture.
- Edible Glitter or Dust: Sprinkle edible glitter or dust over the chocolate coating for a touch of elegance and shimmer.
- Cookie Crumbs: Crush some extra Oreos into fine crumbs and sprinkle them over the chocolate coating. This adds a nice contrast and a bit of extra Oreo flavor.
- Drizzled Designs: Melt a contrasting color of chocolate (white, milk, or dark) and use a spoon or a piping bag to drizzle artistic patterns over the chocolate-covered Oreos.
- Nuts and Seeds: Add chopped nuts like almonds, peanuts, or pistachios, or even healthy options like toasted sesame seeds or chia seeds for a nutty twist.
- Dried Fruit: For a fruity touch, press dried fruit pieces like cranberries, apricots, or pineapple onto the chocolate coating.
- Caramel or Toffee Bits: Drizzle or sprinkle caramel sauce or toffee bits over the chocolate-covered Oreos for a rich, buttery taste.
- Chocolate Chips or Shavings: Before the chocolate coating sets, press chocolate chips or use a vegetable peeler to create chocolate shavings on top.
- Colorful Candy Melts: Use colored candy melts or colored white chocolate to create vibrant, eye-catching chocolate-covered Oreos.
- Theme-Based Decorations: Tailor the toppings to match specific themes or events, such as red and green for Christmas, pastels for Easter, or red, white, and blue for Independence Day.
- Personalized Messages: Write short messages or names on the chocolate coating using edible food pens for a personalized touch.
Related
Looking for other recipes like this? Try these:

How to Make Chocolate-Covered Oreos
With only a few simple ingredients you can make these delicious treats. They're guaranteed to be a hit!
Ingredients
- Oreo sandwich cookies: 8
- white chocolate chips: 8 oz
- sprinkles: 2 Tbsp
Instructions
- In a small bowl melt the chocolate in the microwave in
increments of 30 seconds, for about 2 minutes, or until fully melted. Make sure to stir the chips each time. You can also use a double boiler for this (see notes for instructions) - Scoop a spoonful of melted chocolate into the
Oreo mold, so that the bottom is fully covered with chocolate. - Place an Oreo on top of the chocolate, and
slightly push down. - Place another scoop of melted chocolate on top
of the Oreos and shake the mold until all chocolate is covering the Oreos
evenly. - Top with your favorite sprinkles.
- Put in the fridge for at least a half hour,
until solid. - Remove from mold by gently pushing from the bottom. Store in an airtight container or small sealed plastic bags for up to 2 weeks at room temperature.
Notes
To make a makeshift double boiler simply fill a small saucepan with a couple of inches of water and set it on medium heat. Then choose a glass bowl that's slightly bigger than the saucepan so it will sit on top and seal in the heat. Add the chocolate chips to the bowl and gently stir while they're melting.
Nutrition Information:
Yield: 8 Serving Size: 1Amount Per Serving: Calories: 179Total Fat: 10gSaturated Fat: 6gTrans Fat: 0gUnsaturated Fat: 3gCholesterol: 6mgSodium: 68mgCarbohydrates: 21gFiber: 0gSugar: 18gProtein: 3g



Leave a Reply