Trying out new soap designs is a lot of fun. Here are some beautiful design techniques for cold process and melt and pour soap - the possibilities are endless!
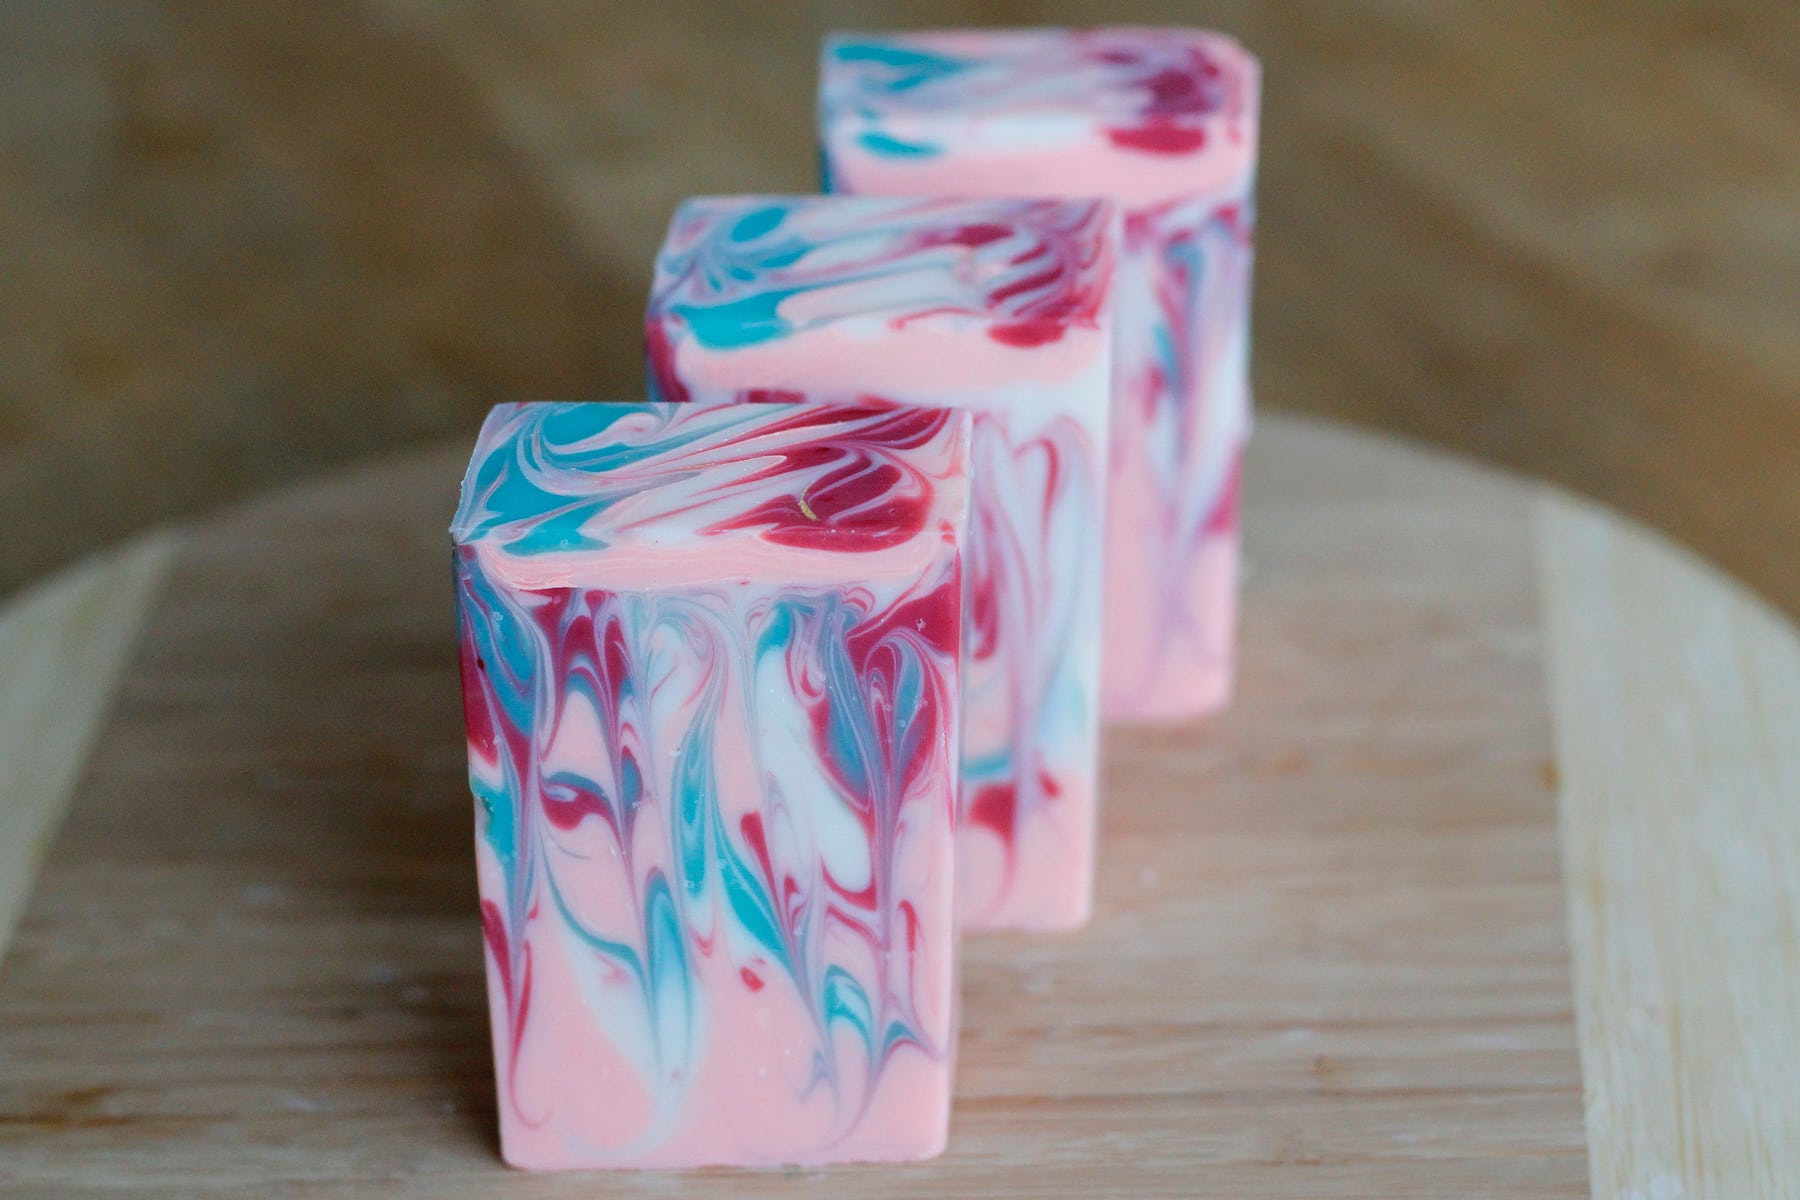
Seeing all these stunning soaps and dreaming up new designs is what got me hooked on soap making many years ago. Since then I've tried a lot of different techniques, some turned out great, some not so much, but it's all a learning process.
Let's look at different soap designs one by one, so that you can recreate and combine them later.
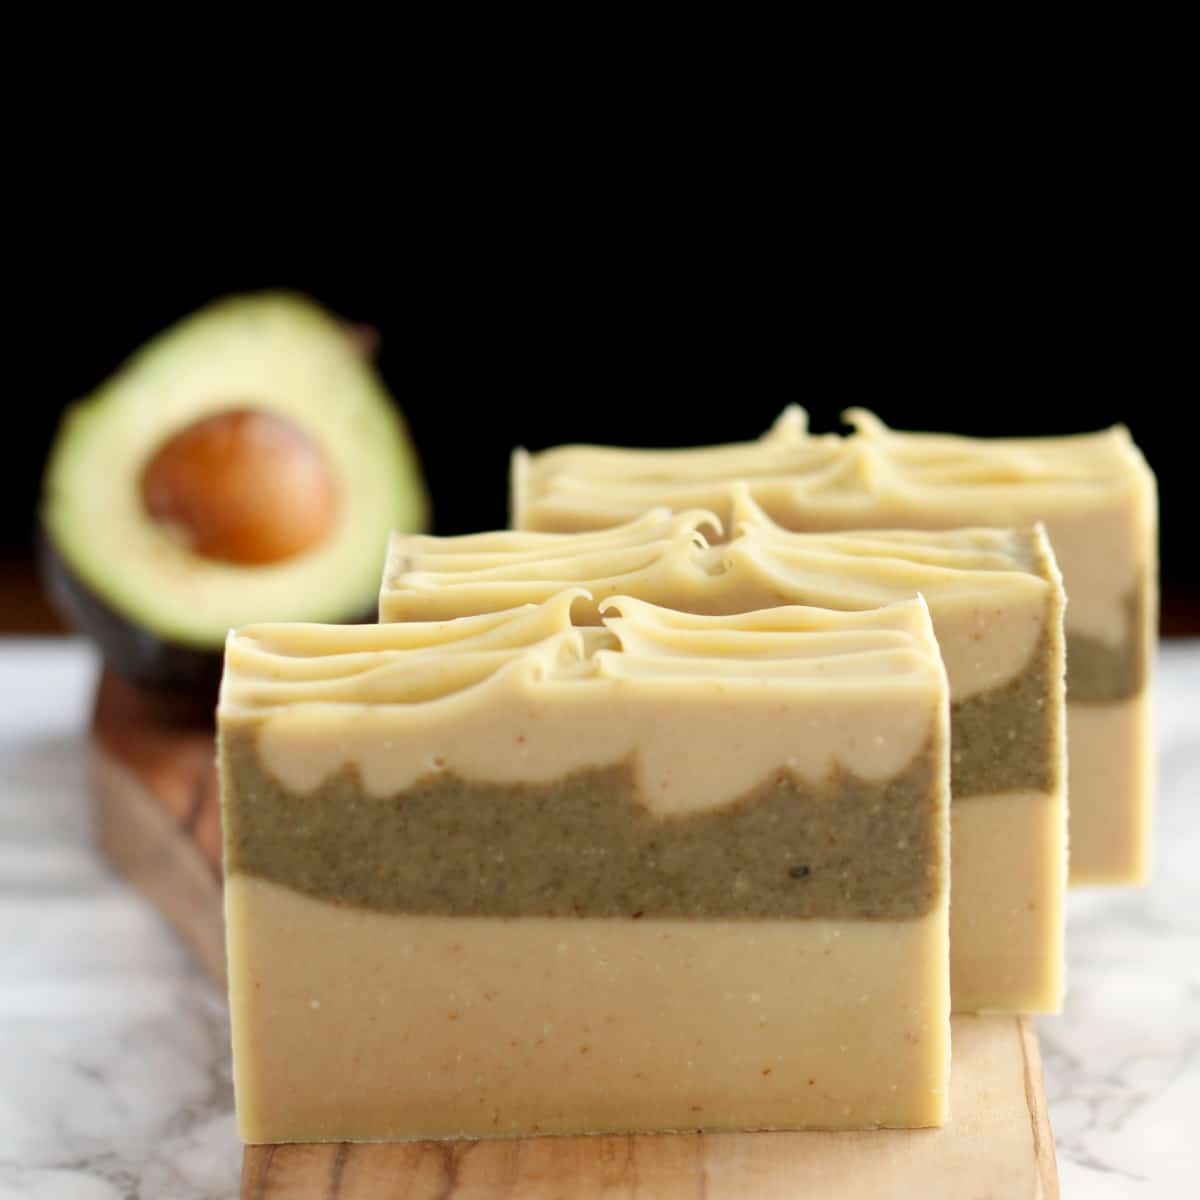
1. Layers
Layers are one of the easiest techniques to try and are great for beginners. For melt & pour soap (MP) layers are usually produced in two batches. One is poured on top of the other when the bottom one has set up. With cold process soap (CP) the batter is usually quite thick to support an extra layer without breaking.
Tutorials for layered soaps:
- Fresh Avocado Soap (CP)
- Charcoal Soap (MP)
- Candy Cane Soap (MP)
- Goat Milk & Oatmeal Soap (CP)
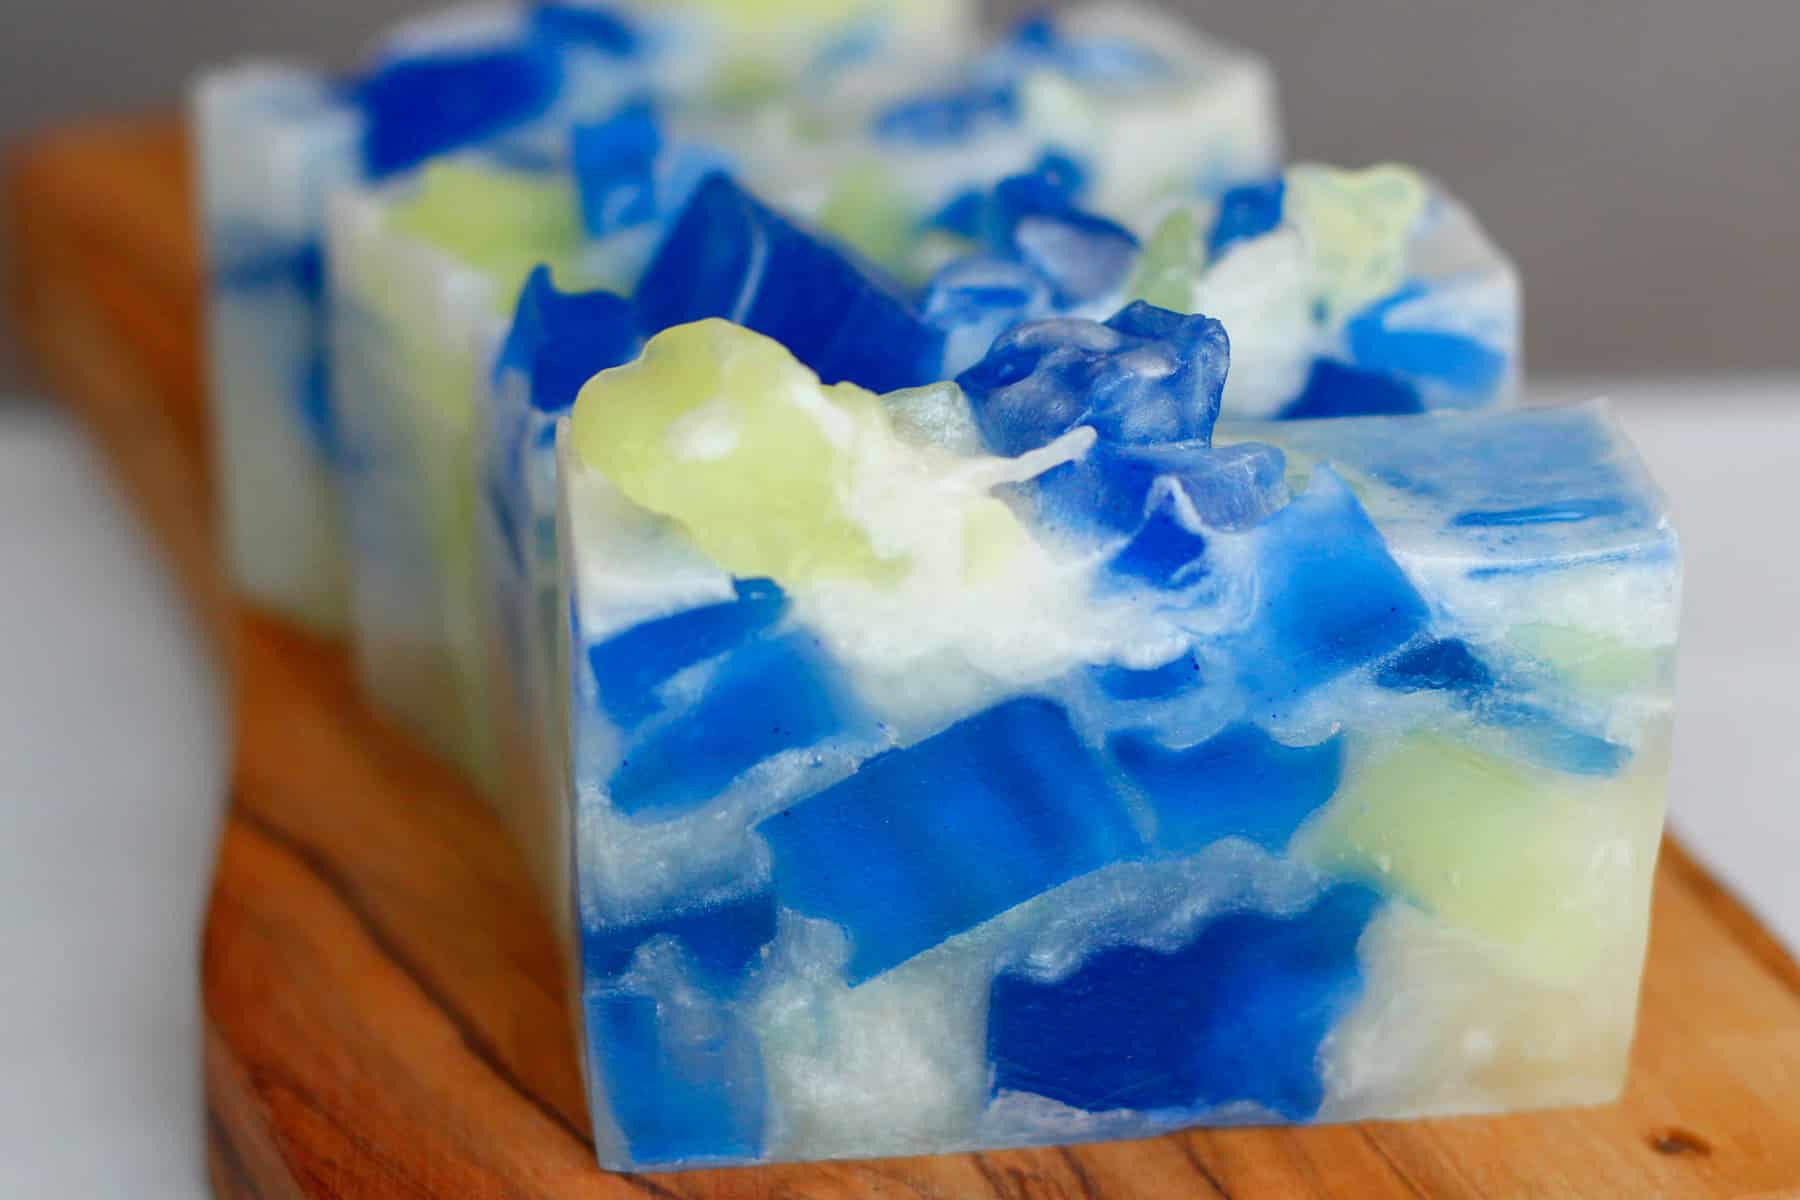
2. Embeds
Adding embeds is also an easy design for beginning soapers and will create stunning results. It works great for cold process and melt and pour soap. Keep in mind that the embed has to be poured ahead of time.
Tutorials for embed soaps:
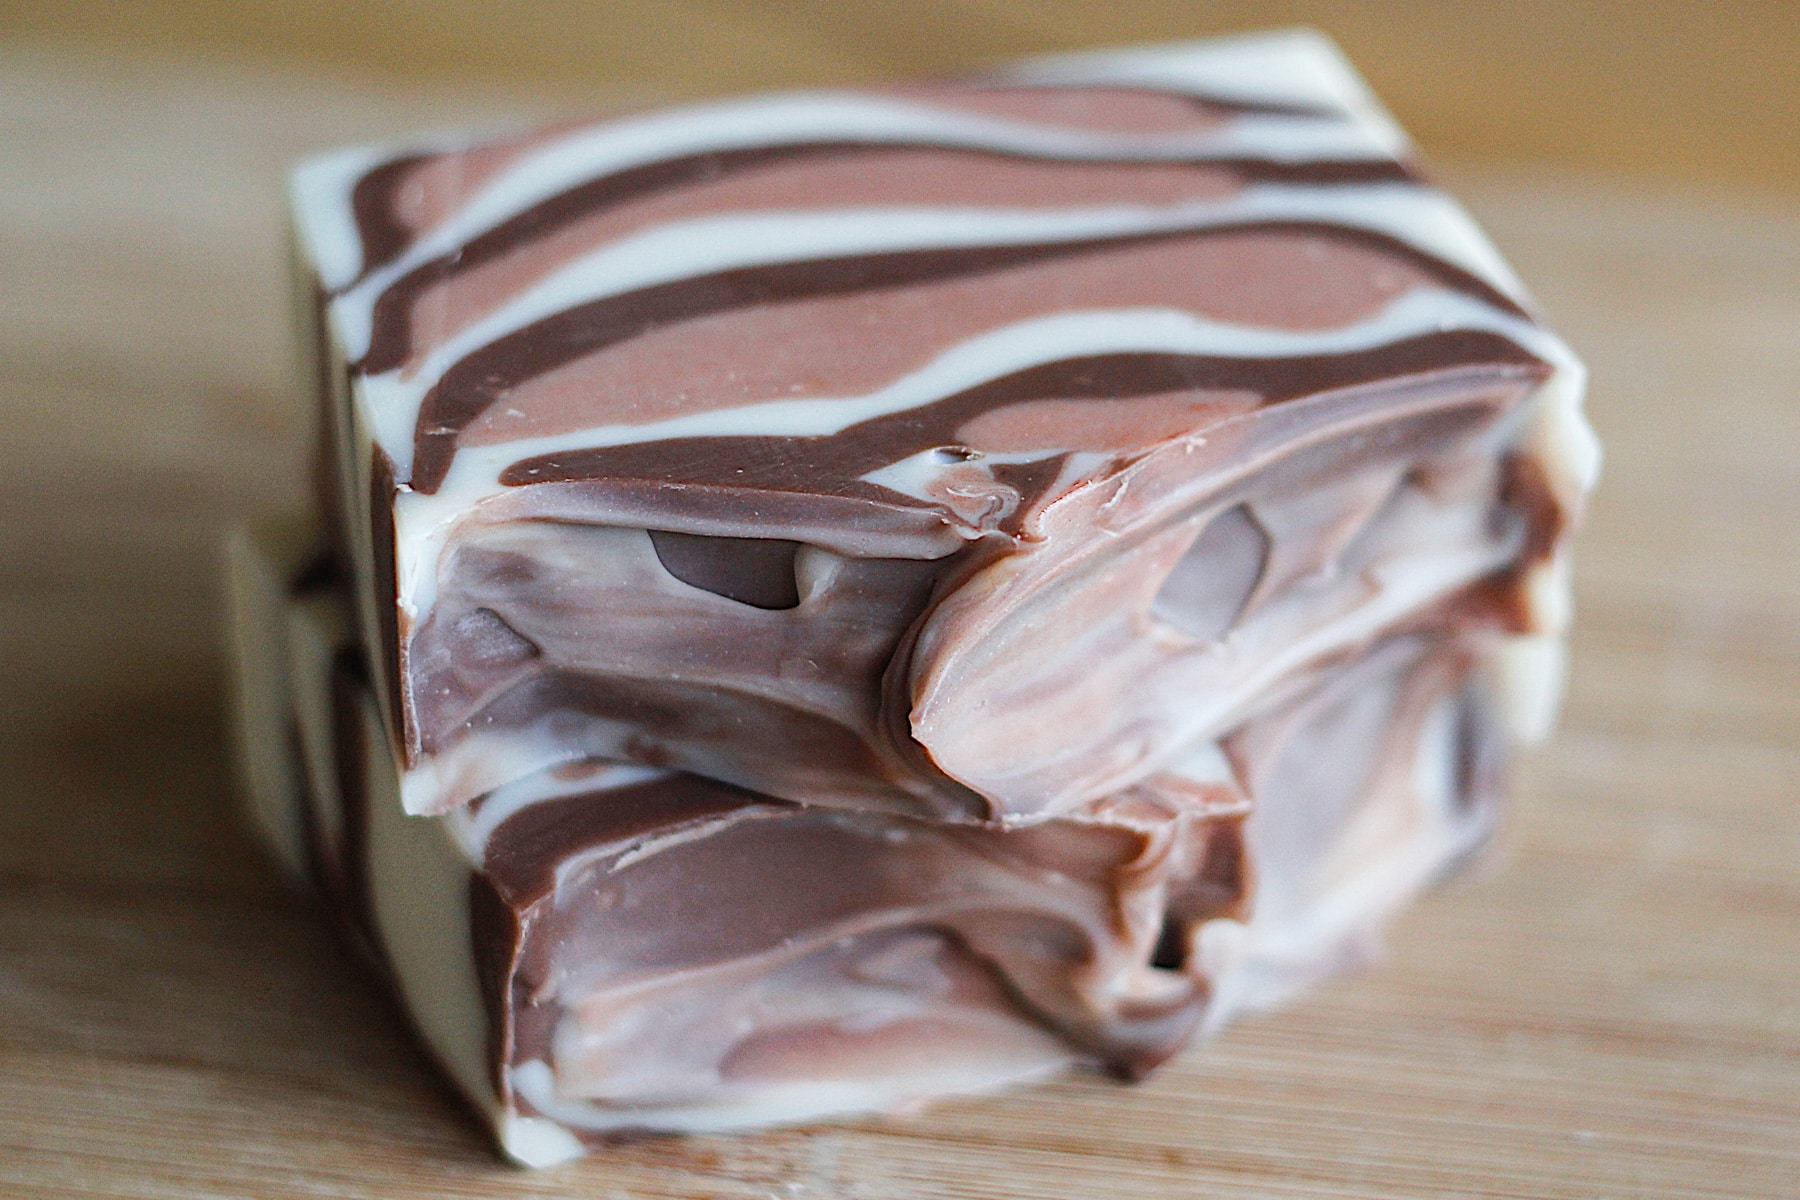
3. Spoon Plop
This technique is exactly what it sounds like: medium to thick soap batter is literally plopped on top of another to create a layered look. A great technique for beginning cold process soap makers and really fun.
Spoon Plop Tutorial:
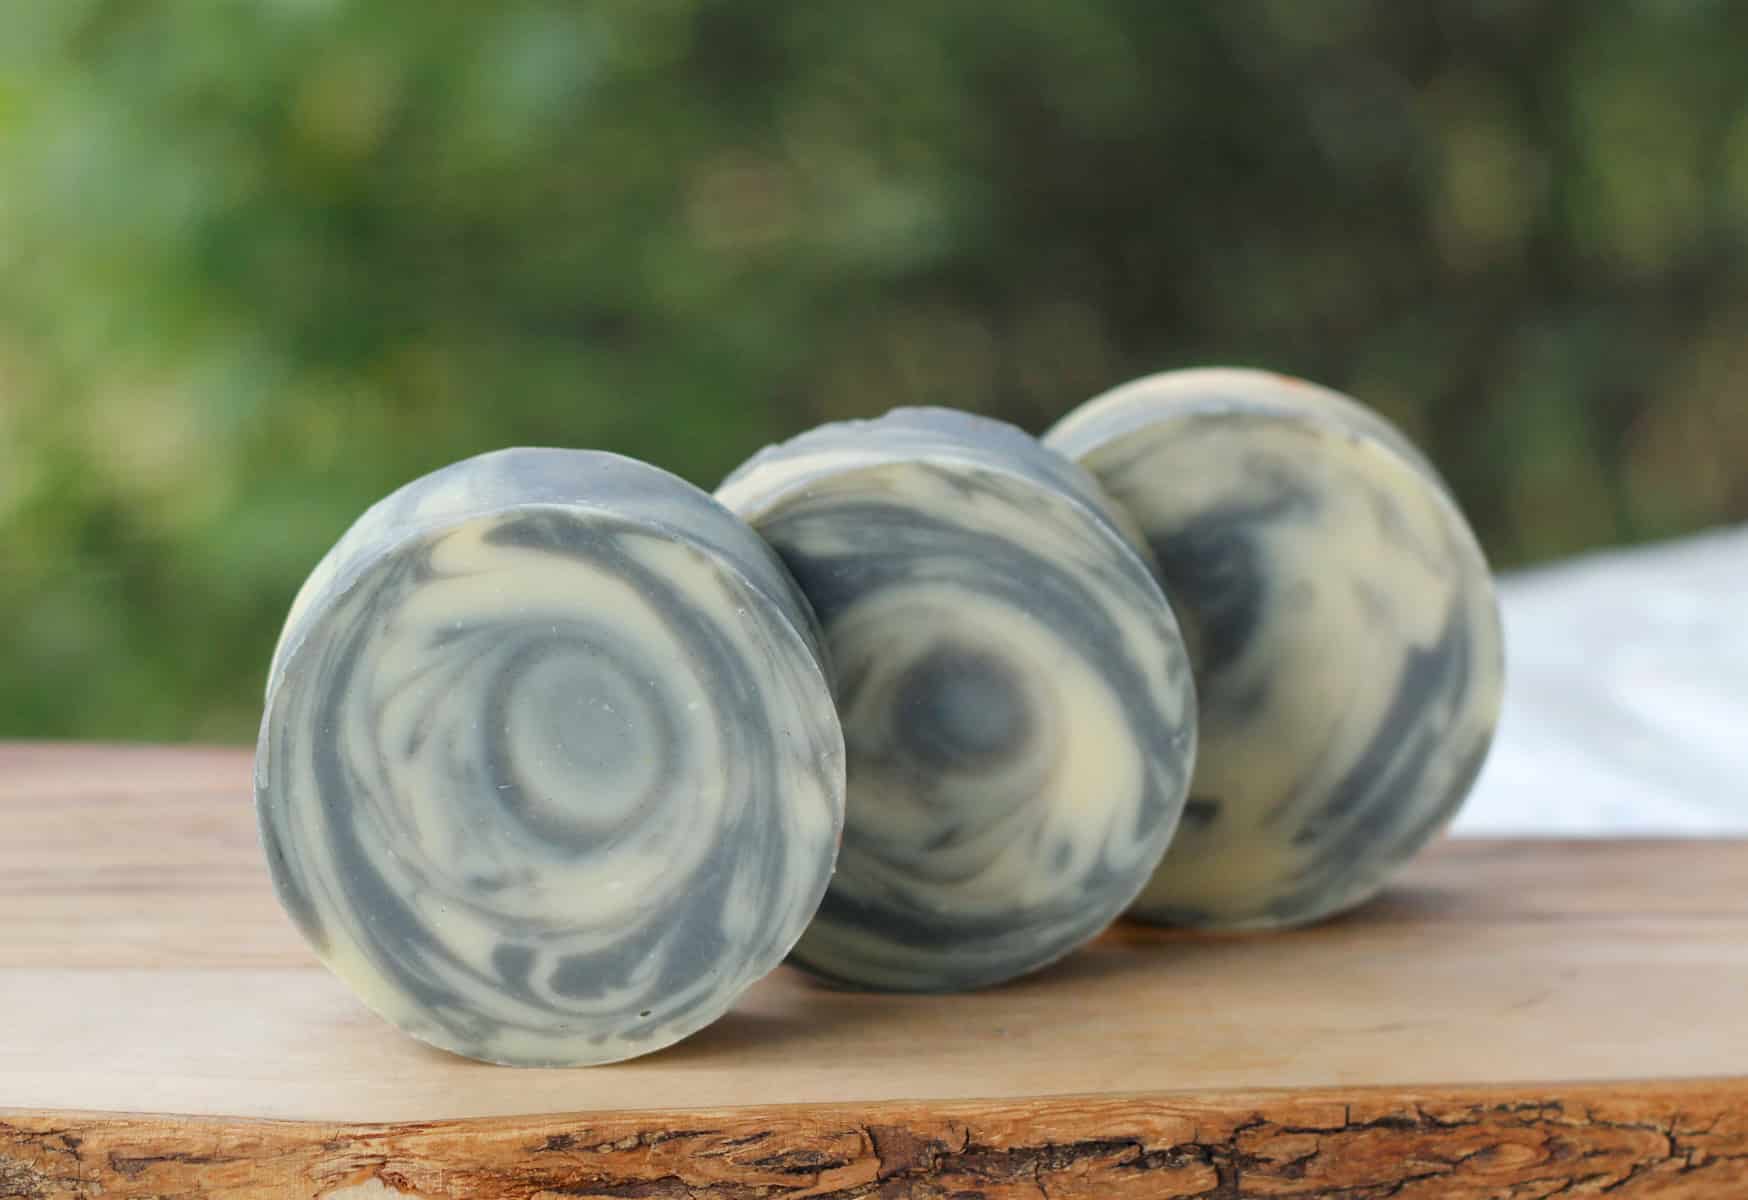
4. In the Pot Swirl
This technique works beautifully with cold process soap. The soap is first swirled in a pot and then poured into a mold. Creating stunning swirls.
Tutorials for In-the-pot swirls:
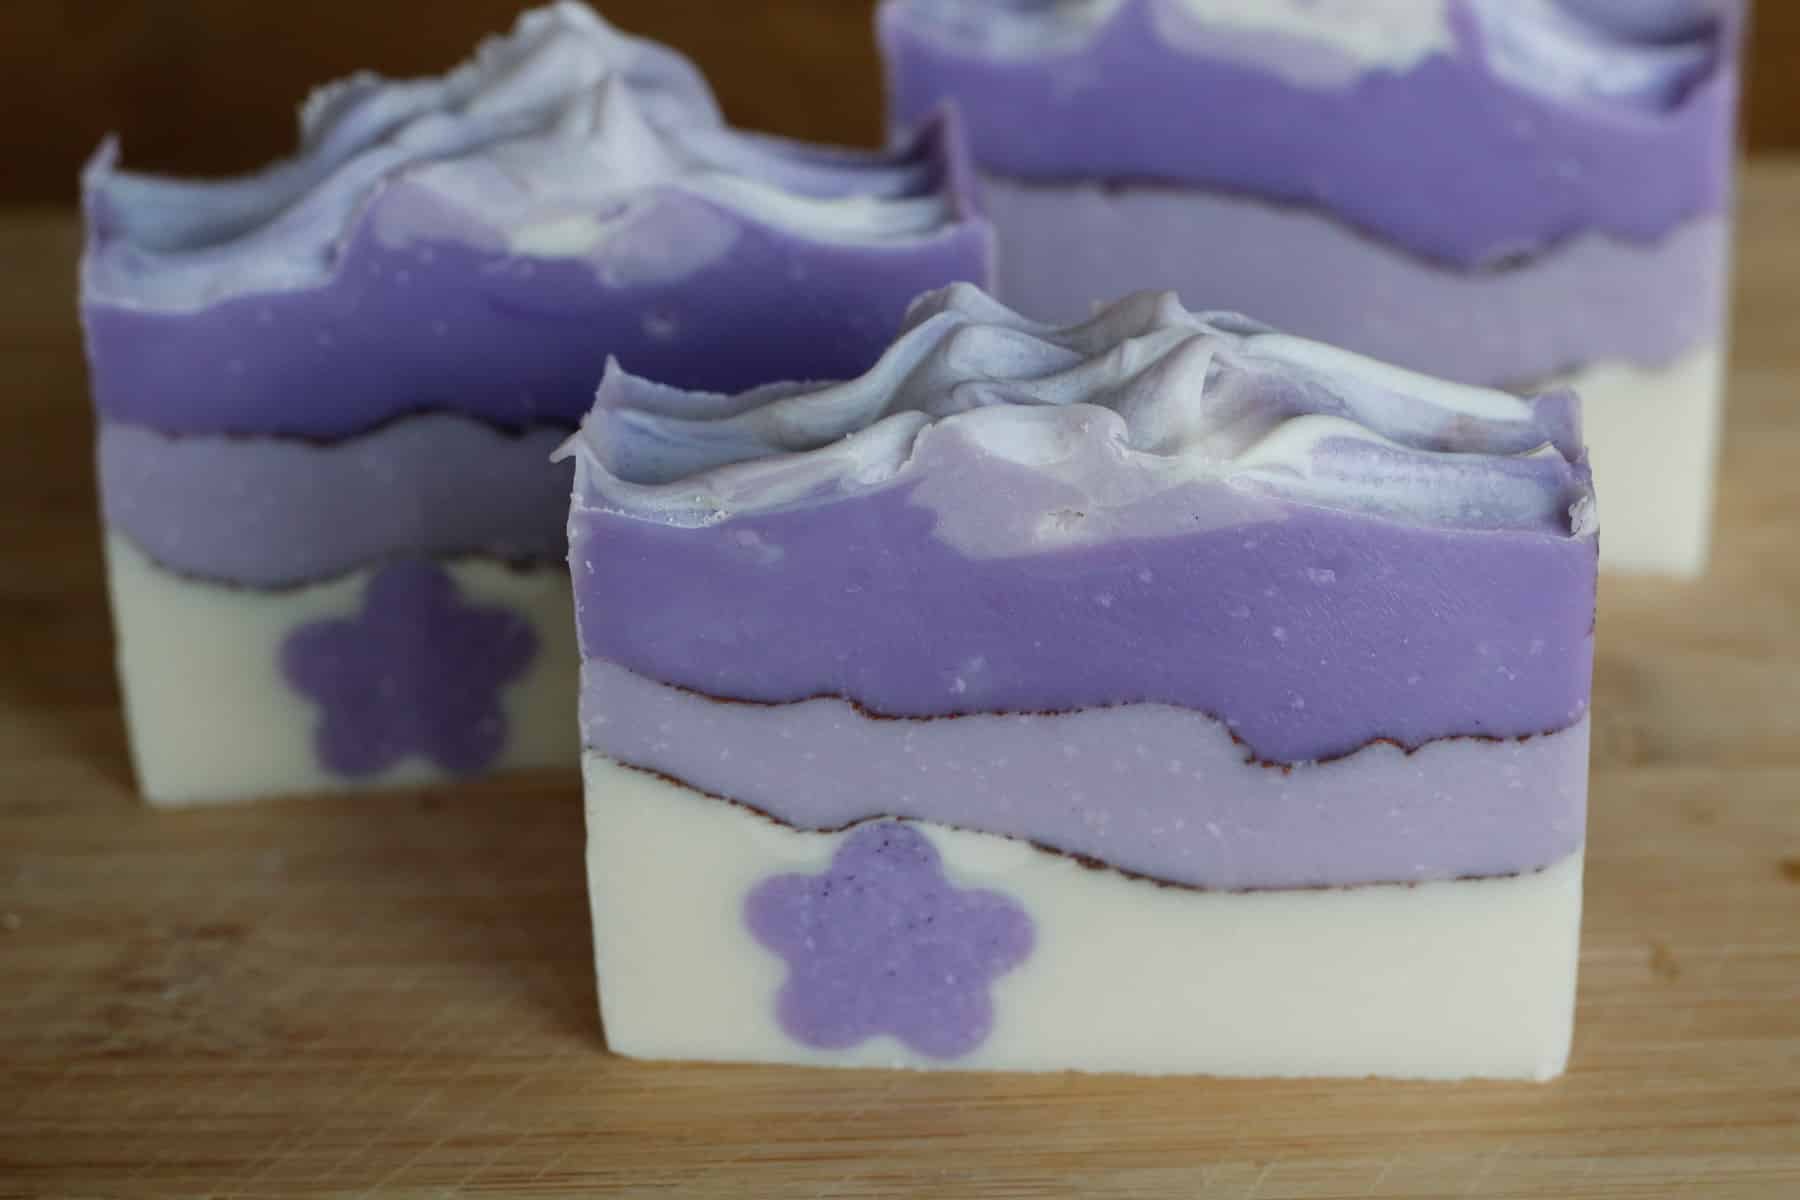
5. Pencil/Mica Lines, Mica Dusting and Swirling
Aside from coloring soap batter, micas can be used in a number of different ways. Micas in their sparkly shininess look simply stunning.
One way is to is to create fine lines in between layers, another is to dust the top of the soap. You can also do mica in oil swirling for the top of cold process soap.
Tutorials using micas:
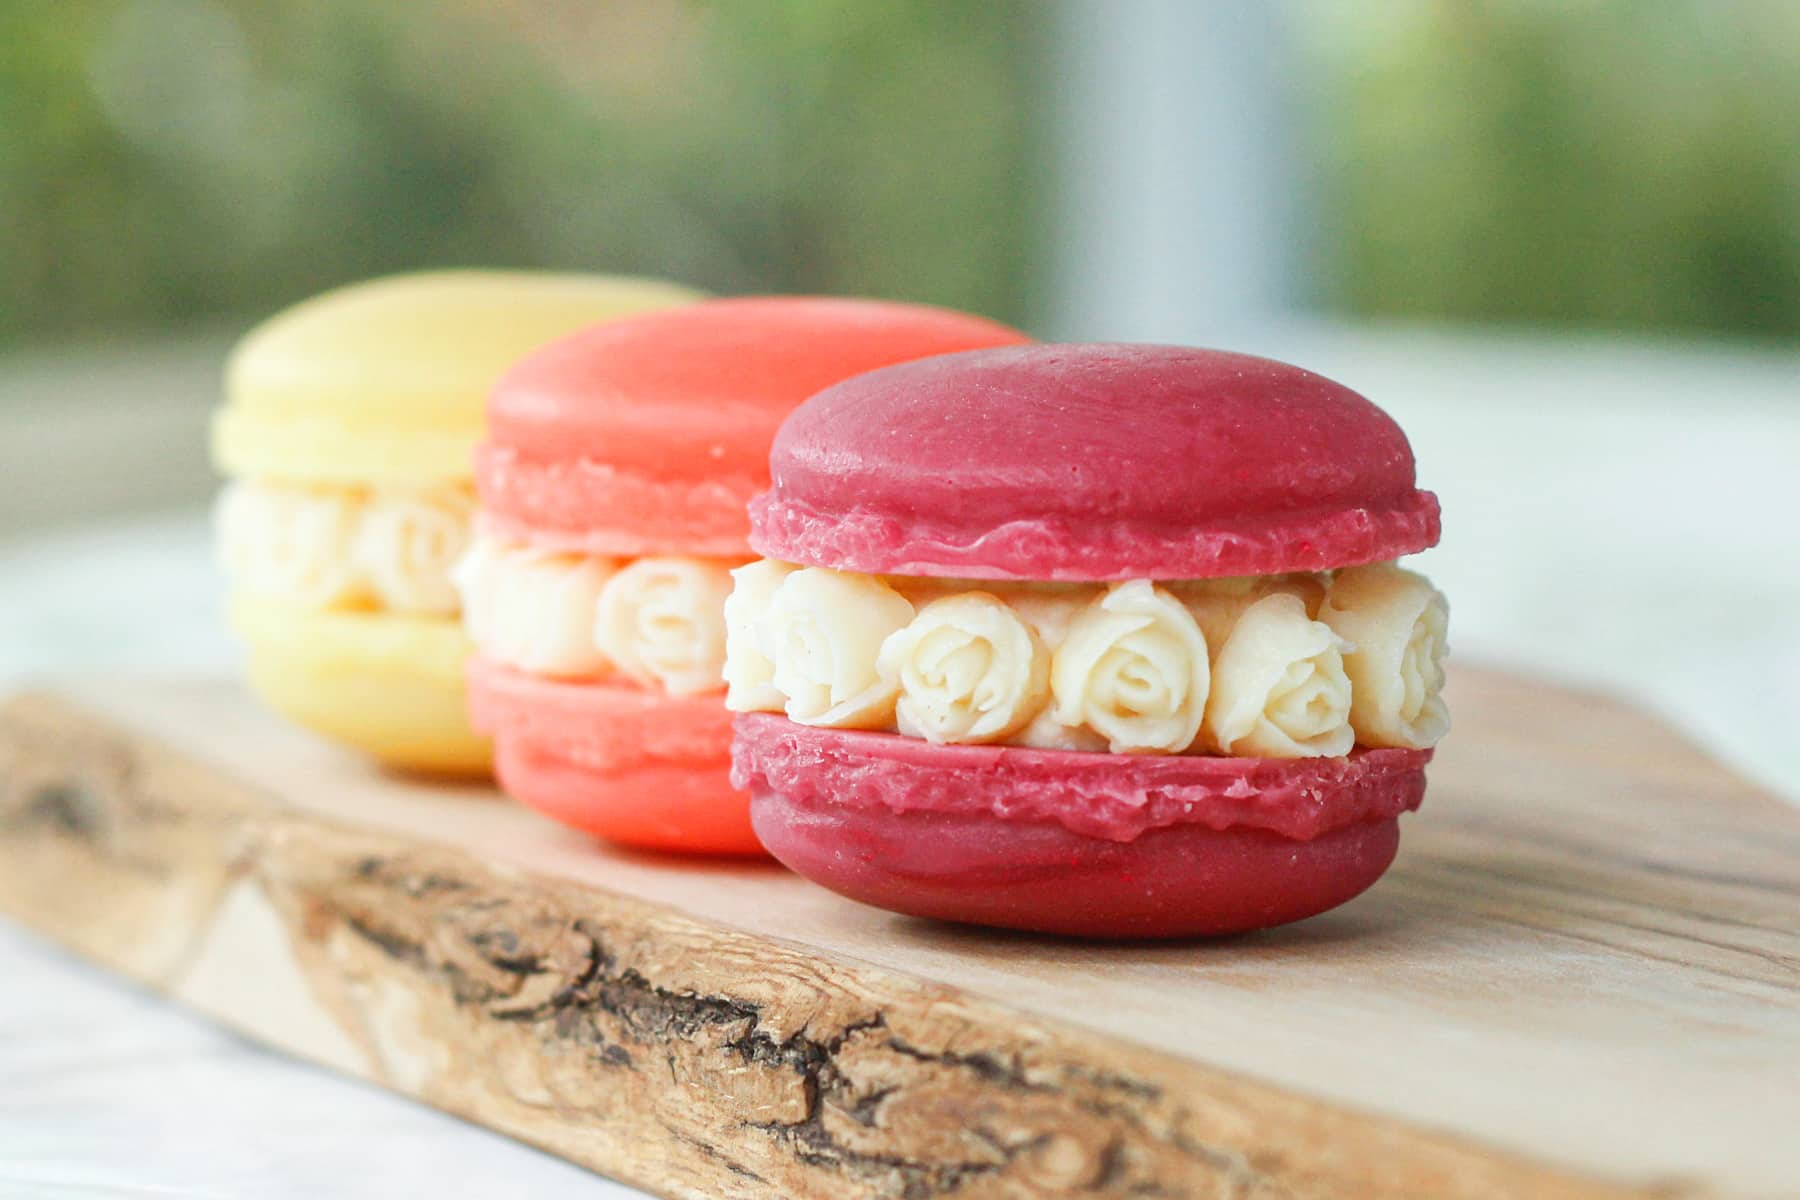
6. Desert Inspired Soaps
If you've got a sweet tooth (like me) you will love these soaps that come in cupcake, donut and macaroon shapes, colors and scents. Delish!
Desert soap tutorials:
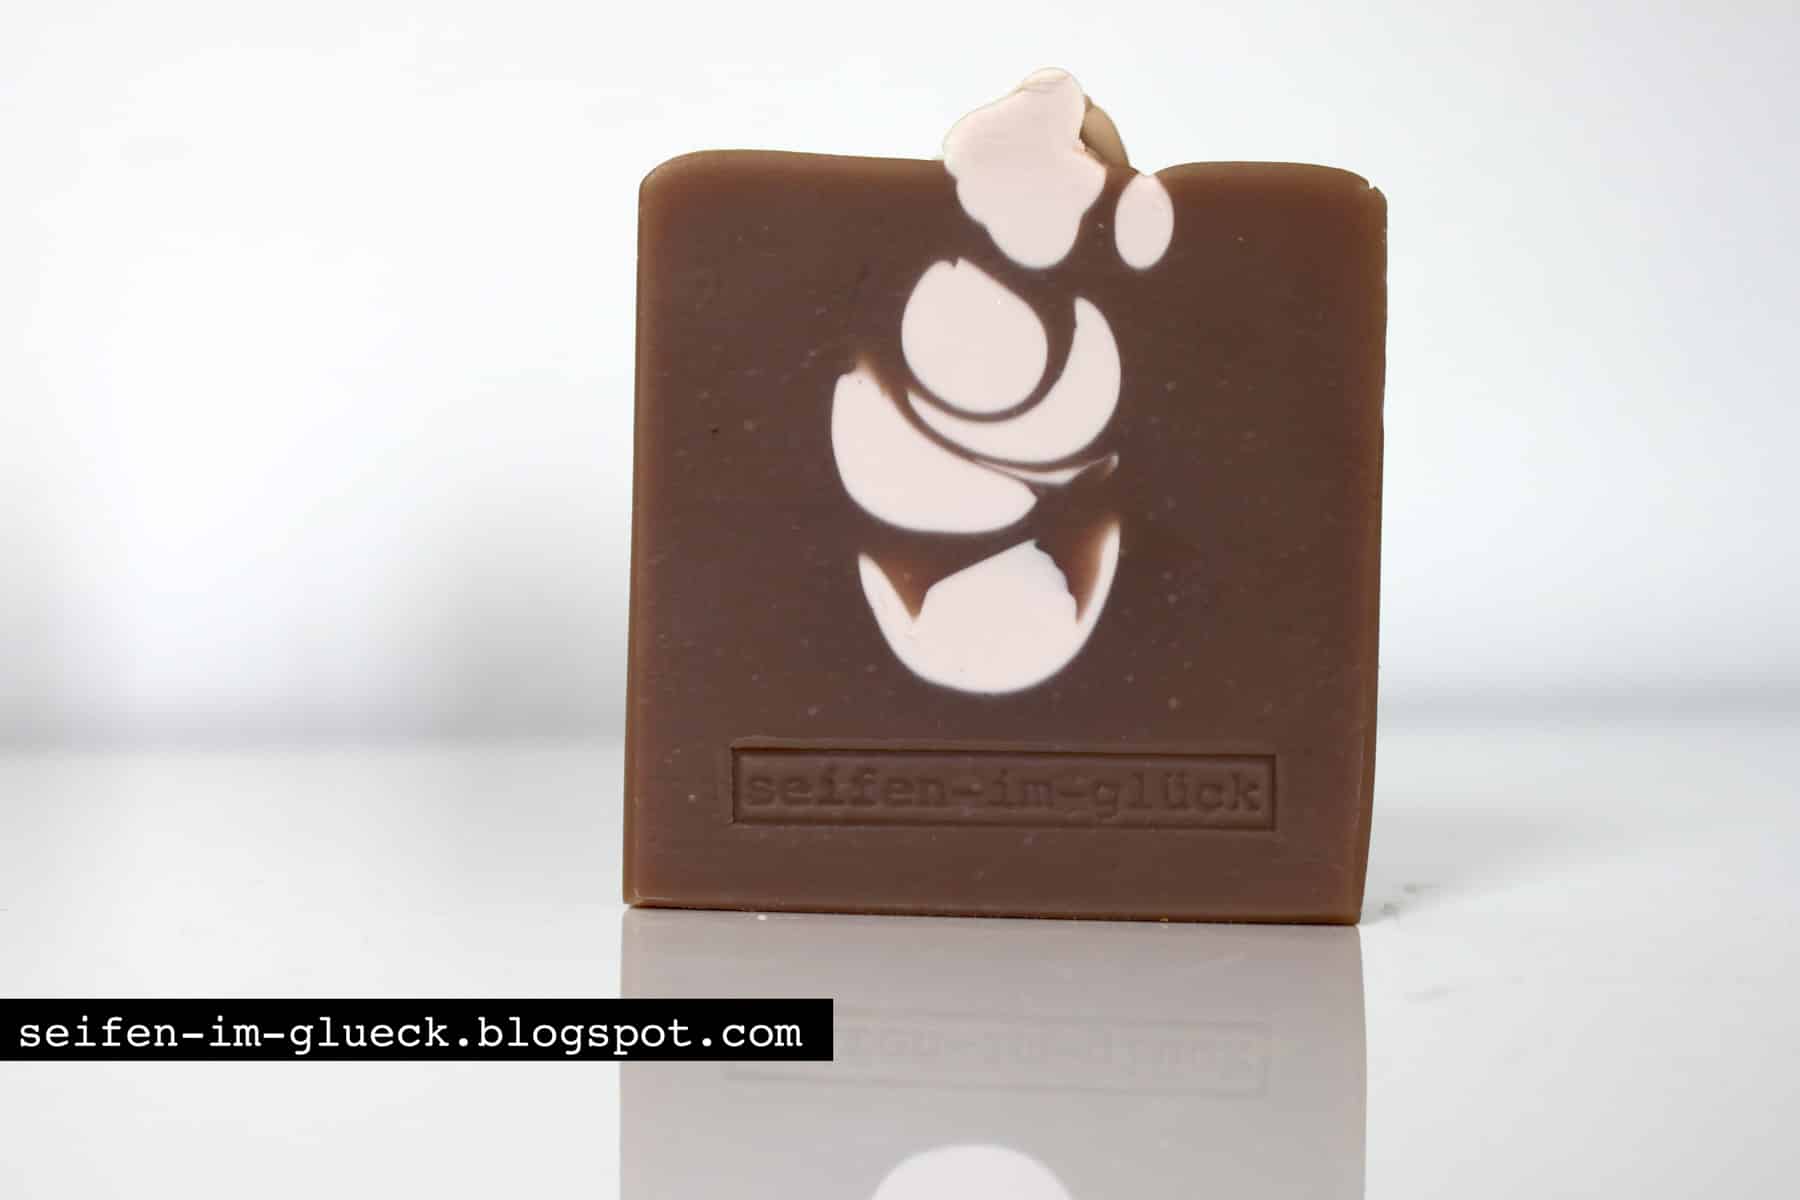
7. In the Mold Swirl/ Drop Swirl
Here the colors are poured into the mold at different times and from different heights. My friend Diane of Seifen im Gluck does this so well with thick soap batter. This works with melt and pour soap as well.
In the mold soap tutorials:
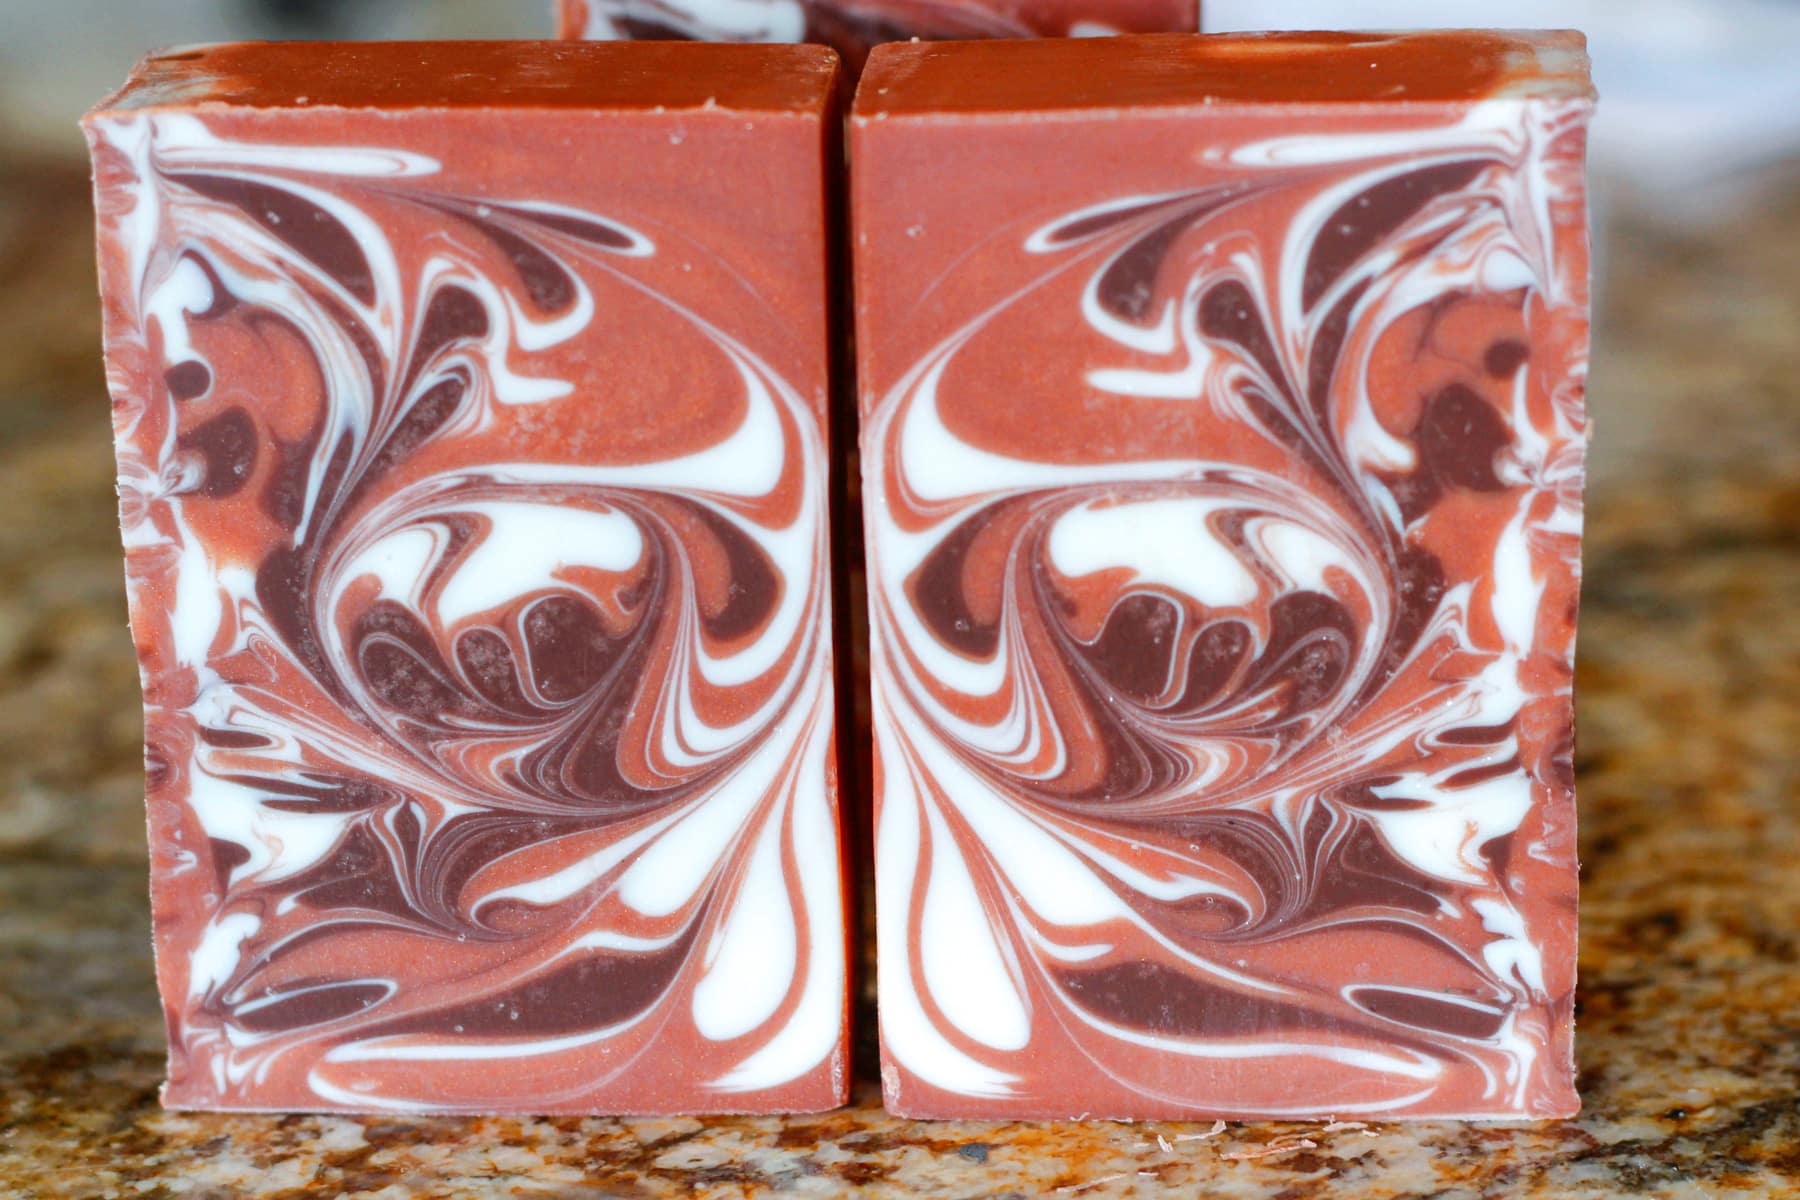
8. Hanger Swirl
The hanger swirl is a super cool technique that builds on the drop swirl. After the soap is poured, a clothes hanger is dragged through the batter. Which creates intentional swirls in a certain direction. One of the most stunning hanger swirls is the butterfly swirl, that was developed by Zahida of Handmade in Florida.
Tutorials using hanger swirls:
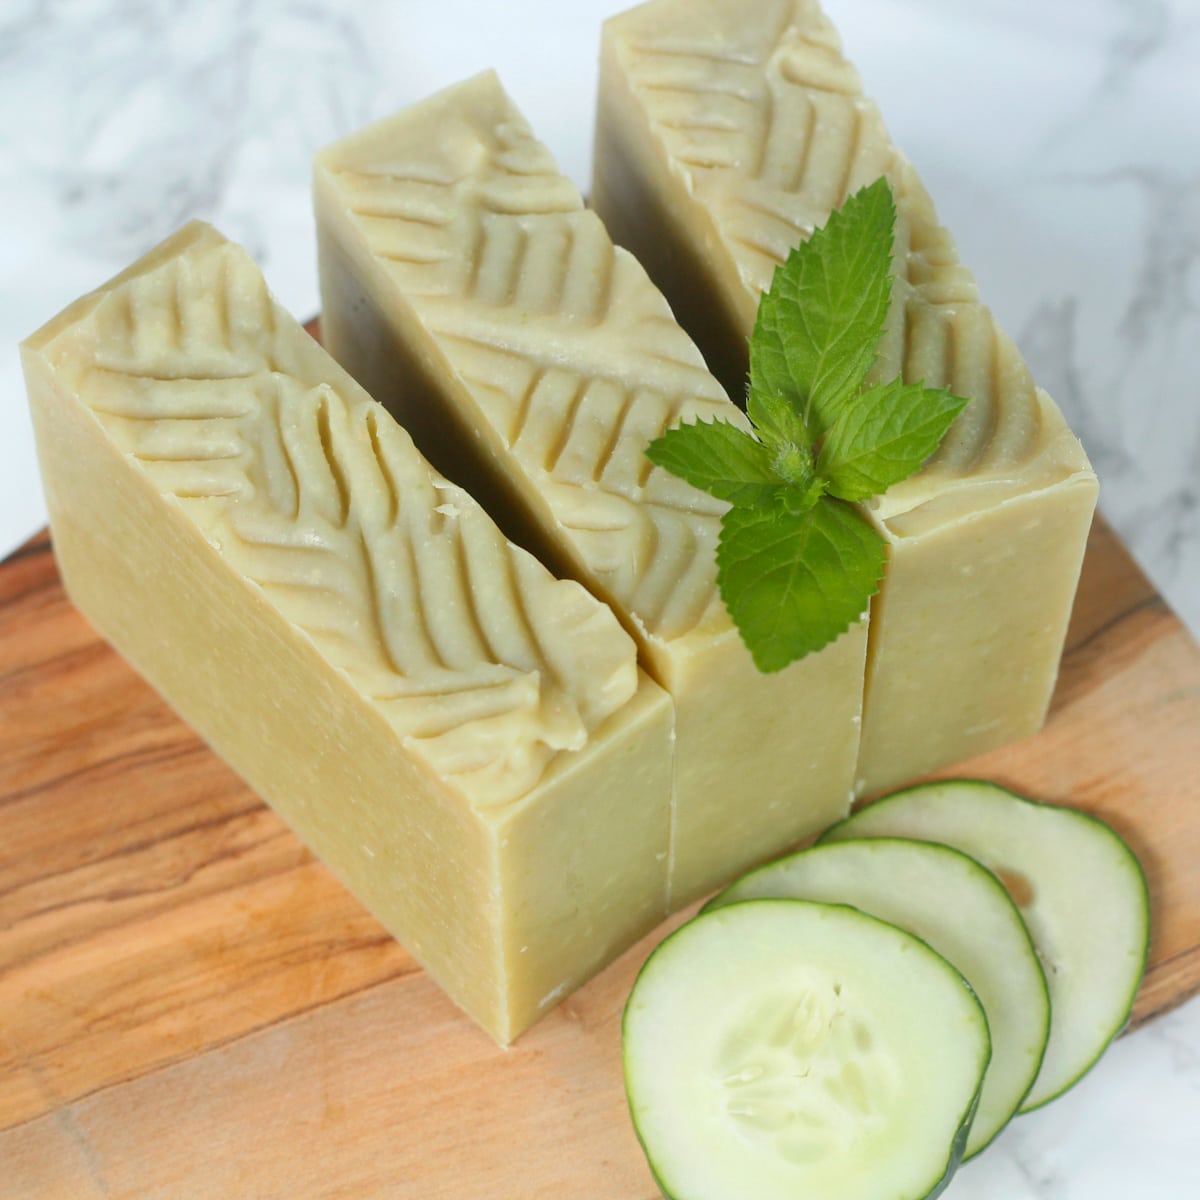
9. Textured Top
Texturing the top after cold process soap is poured is so much fun. You can use a spoon, knife, fork or chop stick to create interest.
Tutorials using textured tops:
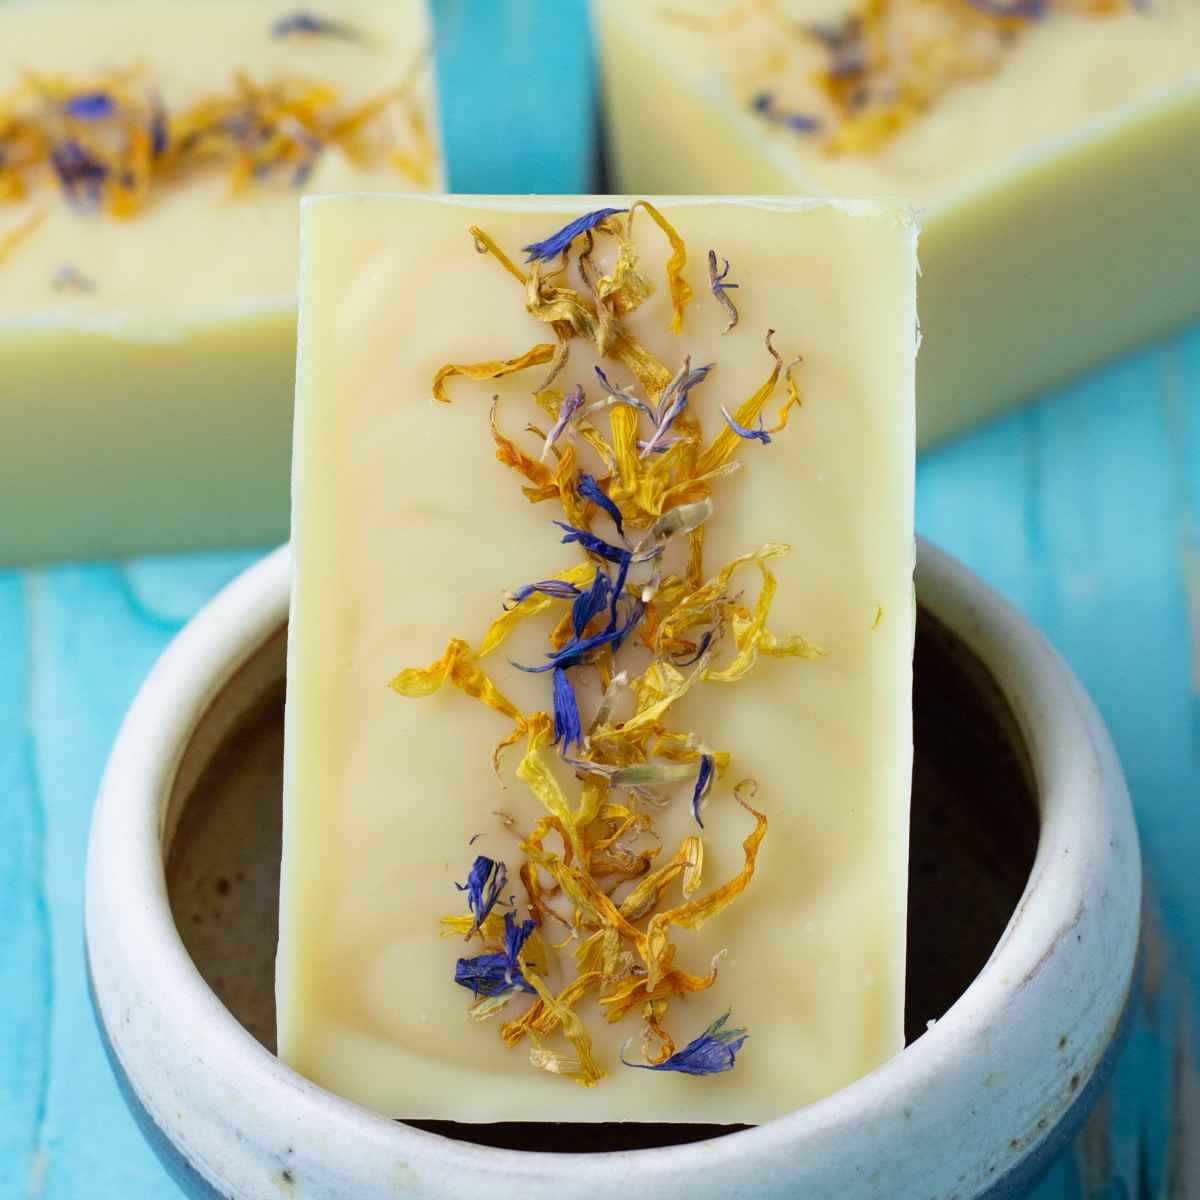
10. Using Botanicals
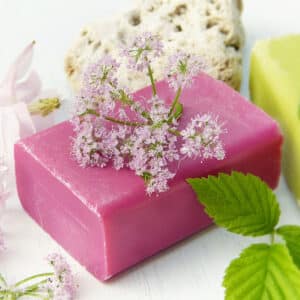
Dried flowers and herbs can be used on top of inside of soap to create a natural look. Keep in mind that most botanicals (except for calendula) will turn brown in cold process soap. Botanicals will also sink to the bottom of melt and pour soap, which is something to keep in mind.
Tutorials using botanicals:
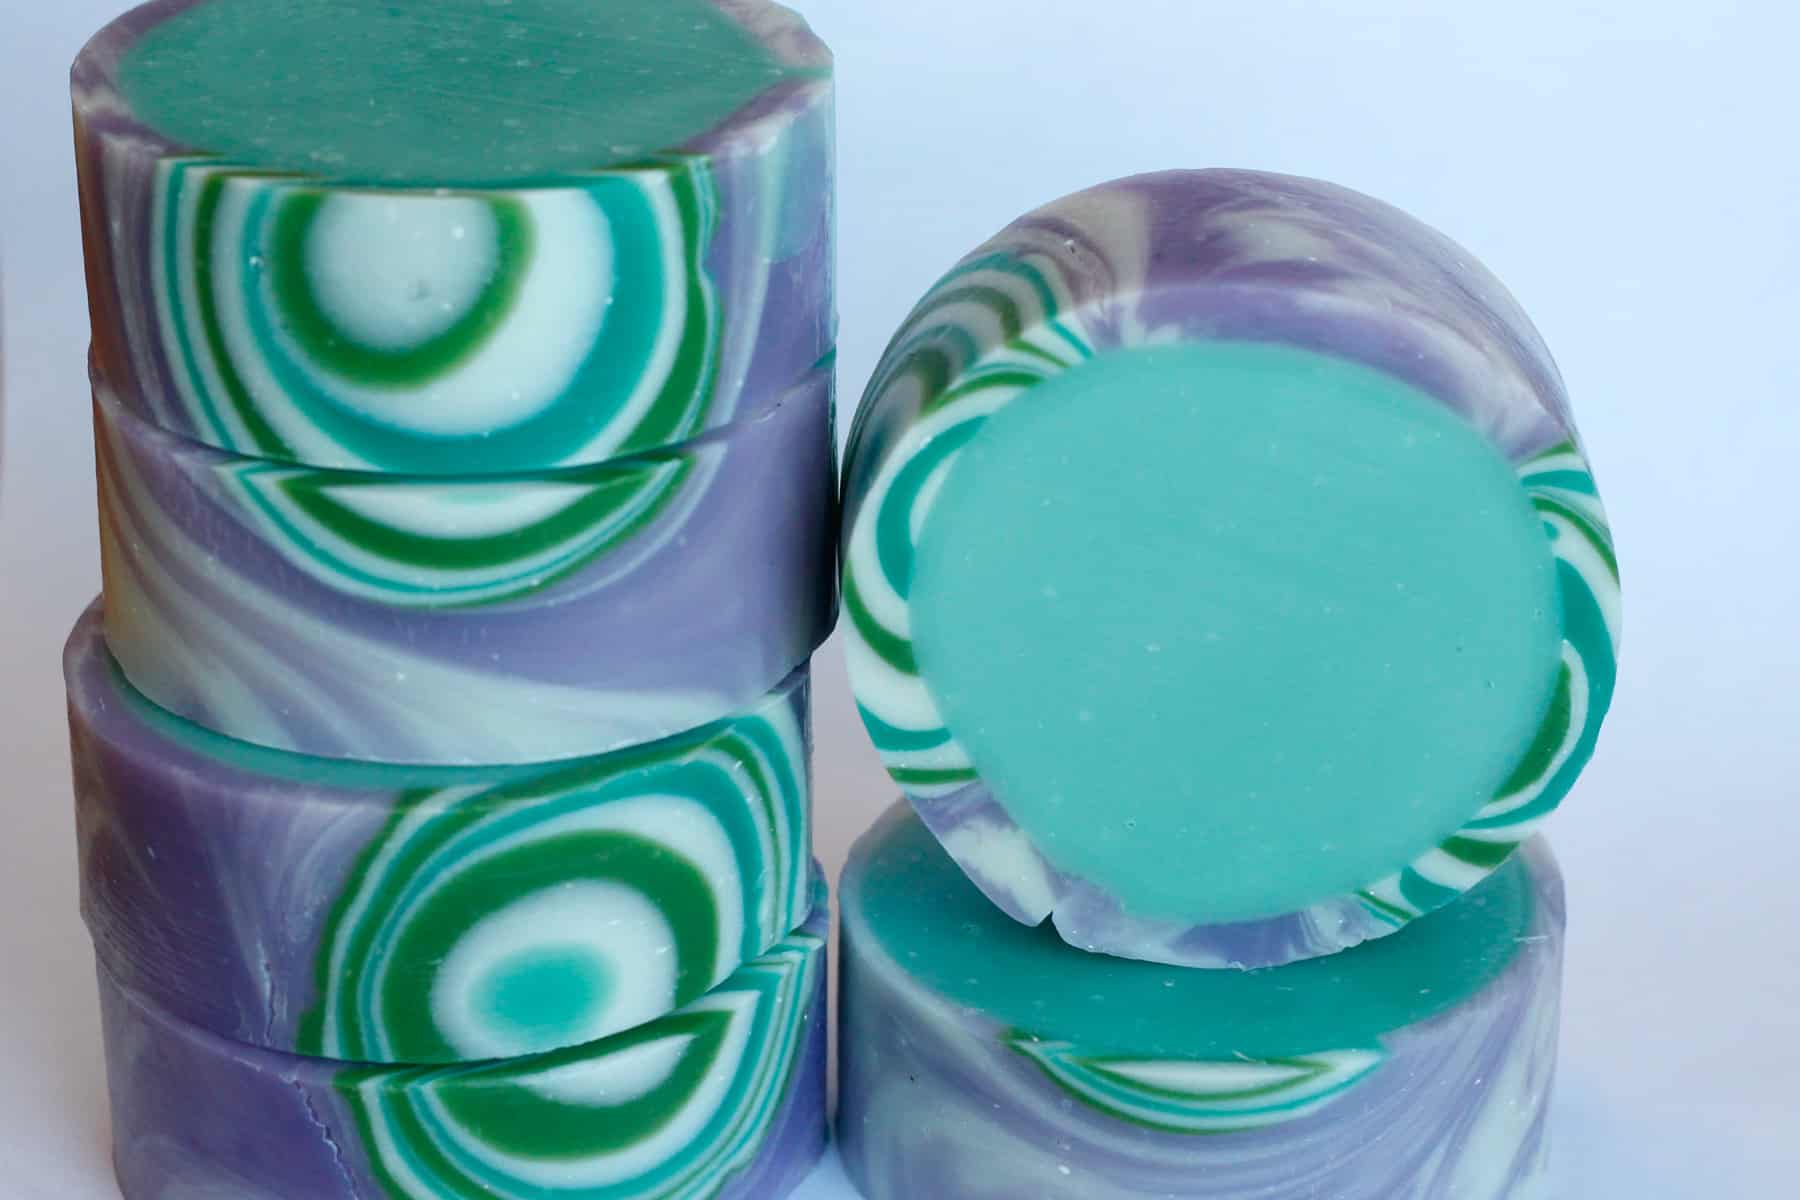
11. Rimmed Soaps
Rimmed soaps are similar to using embeds. Finished soap is placed alongside the rim of the soap and the fresh soap poured inside it.
Tutorials for rimmed soaps:
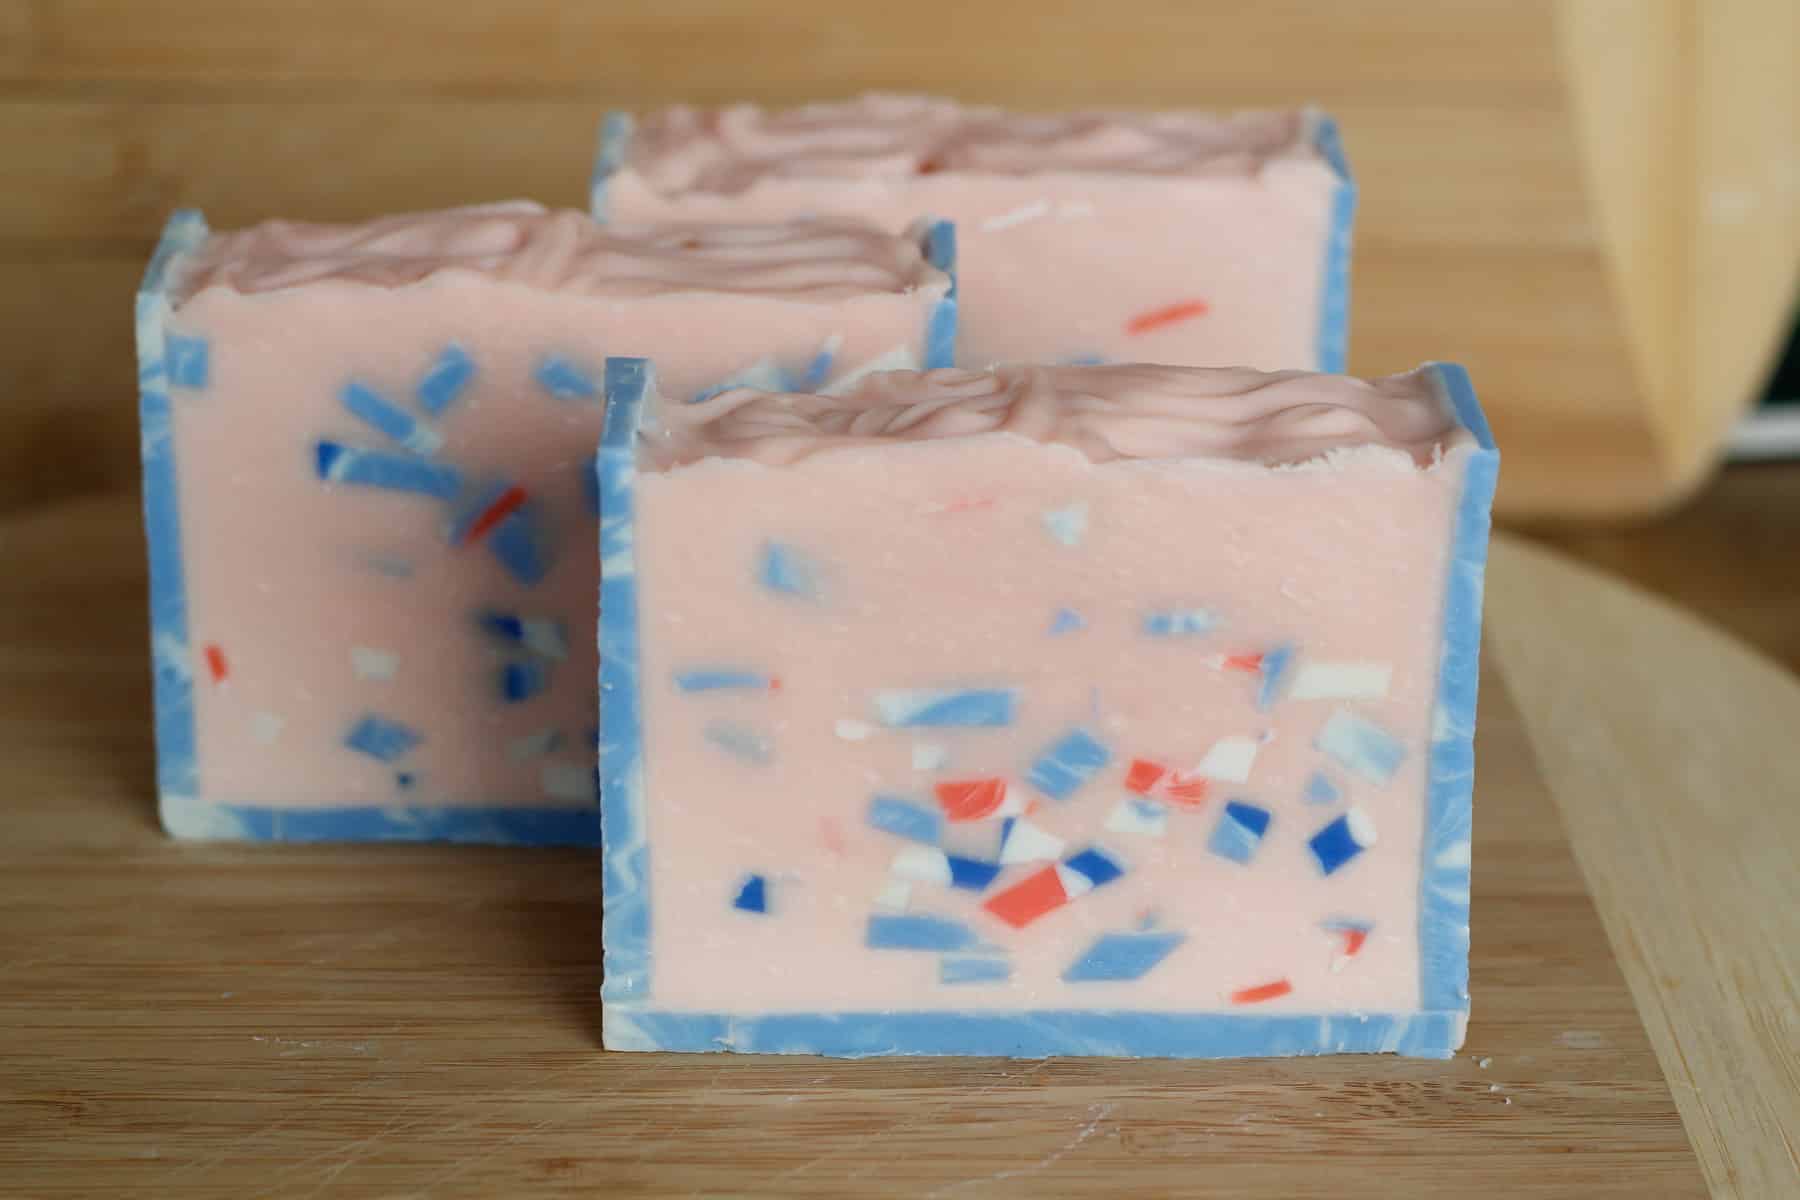
12. Confetti Soaps
This is a neat idea on reusing all those soap scraps. You can grate them up and throw them into a new batter for a fun look. Or you can roll semi-soft soap into balls and use them as embeds.
Tutorial using soap confetti:
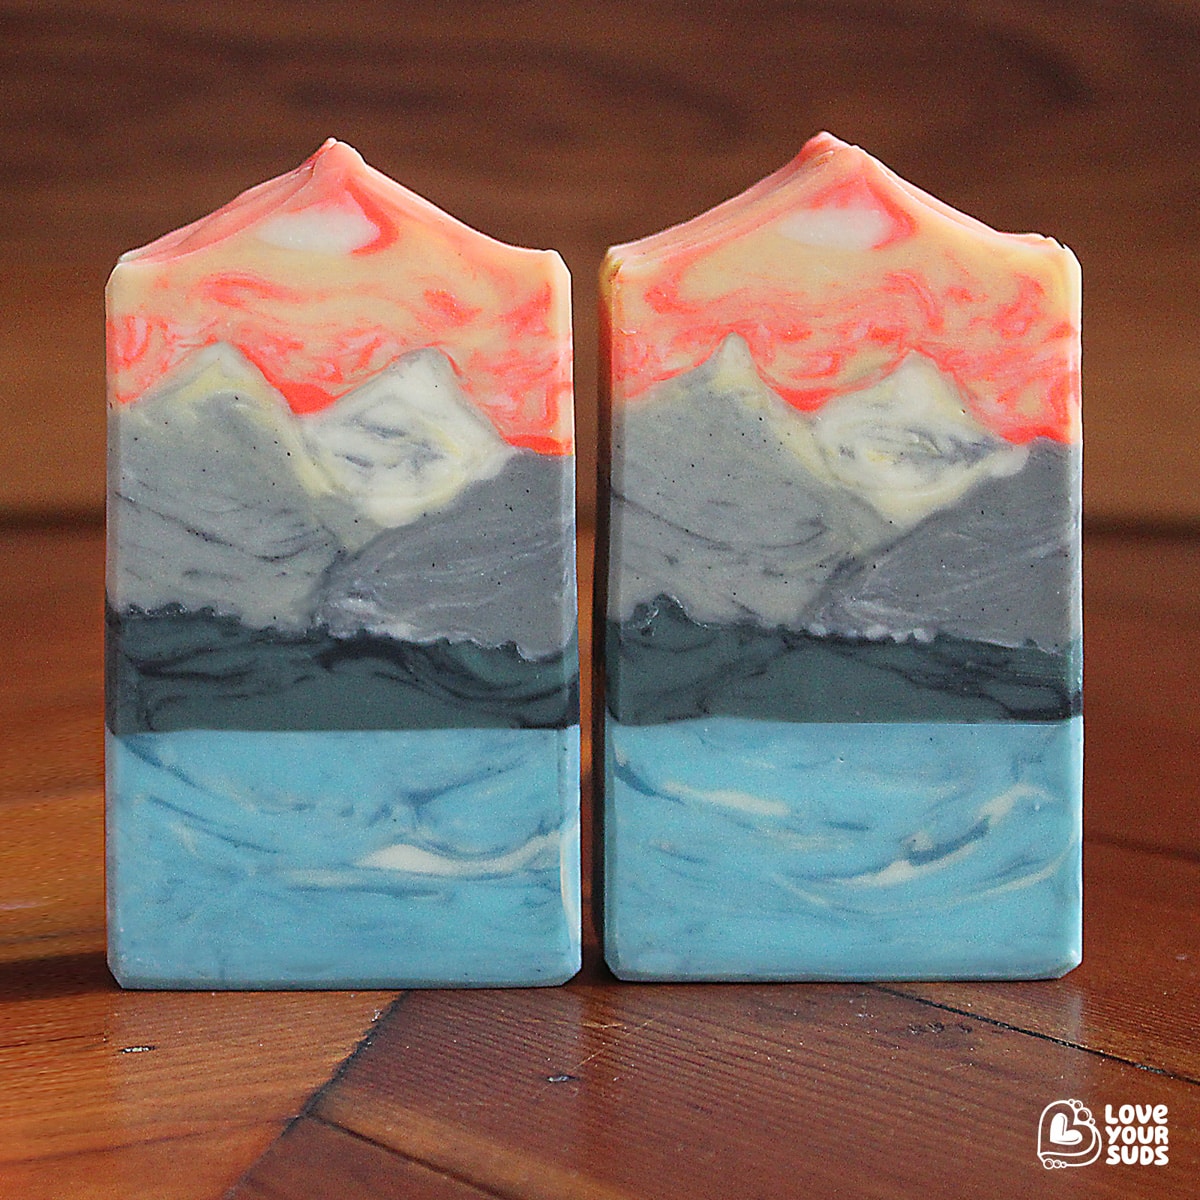
13. Landscape
This technique is stunning, but certainly advanced. It uses methods of layering and sometimes swirling to create amazing landscapes. My friend Belinda of Love your Suds does this so well.
Tutorials for soap landscapes:
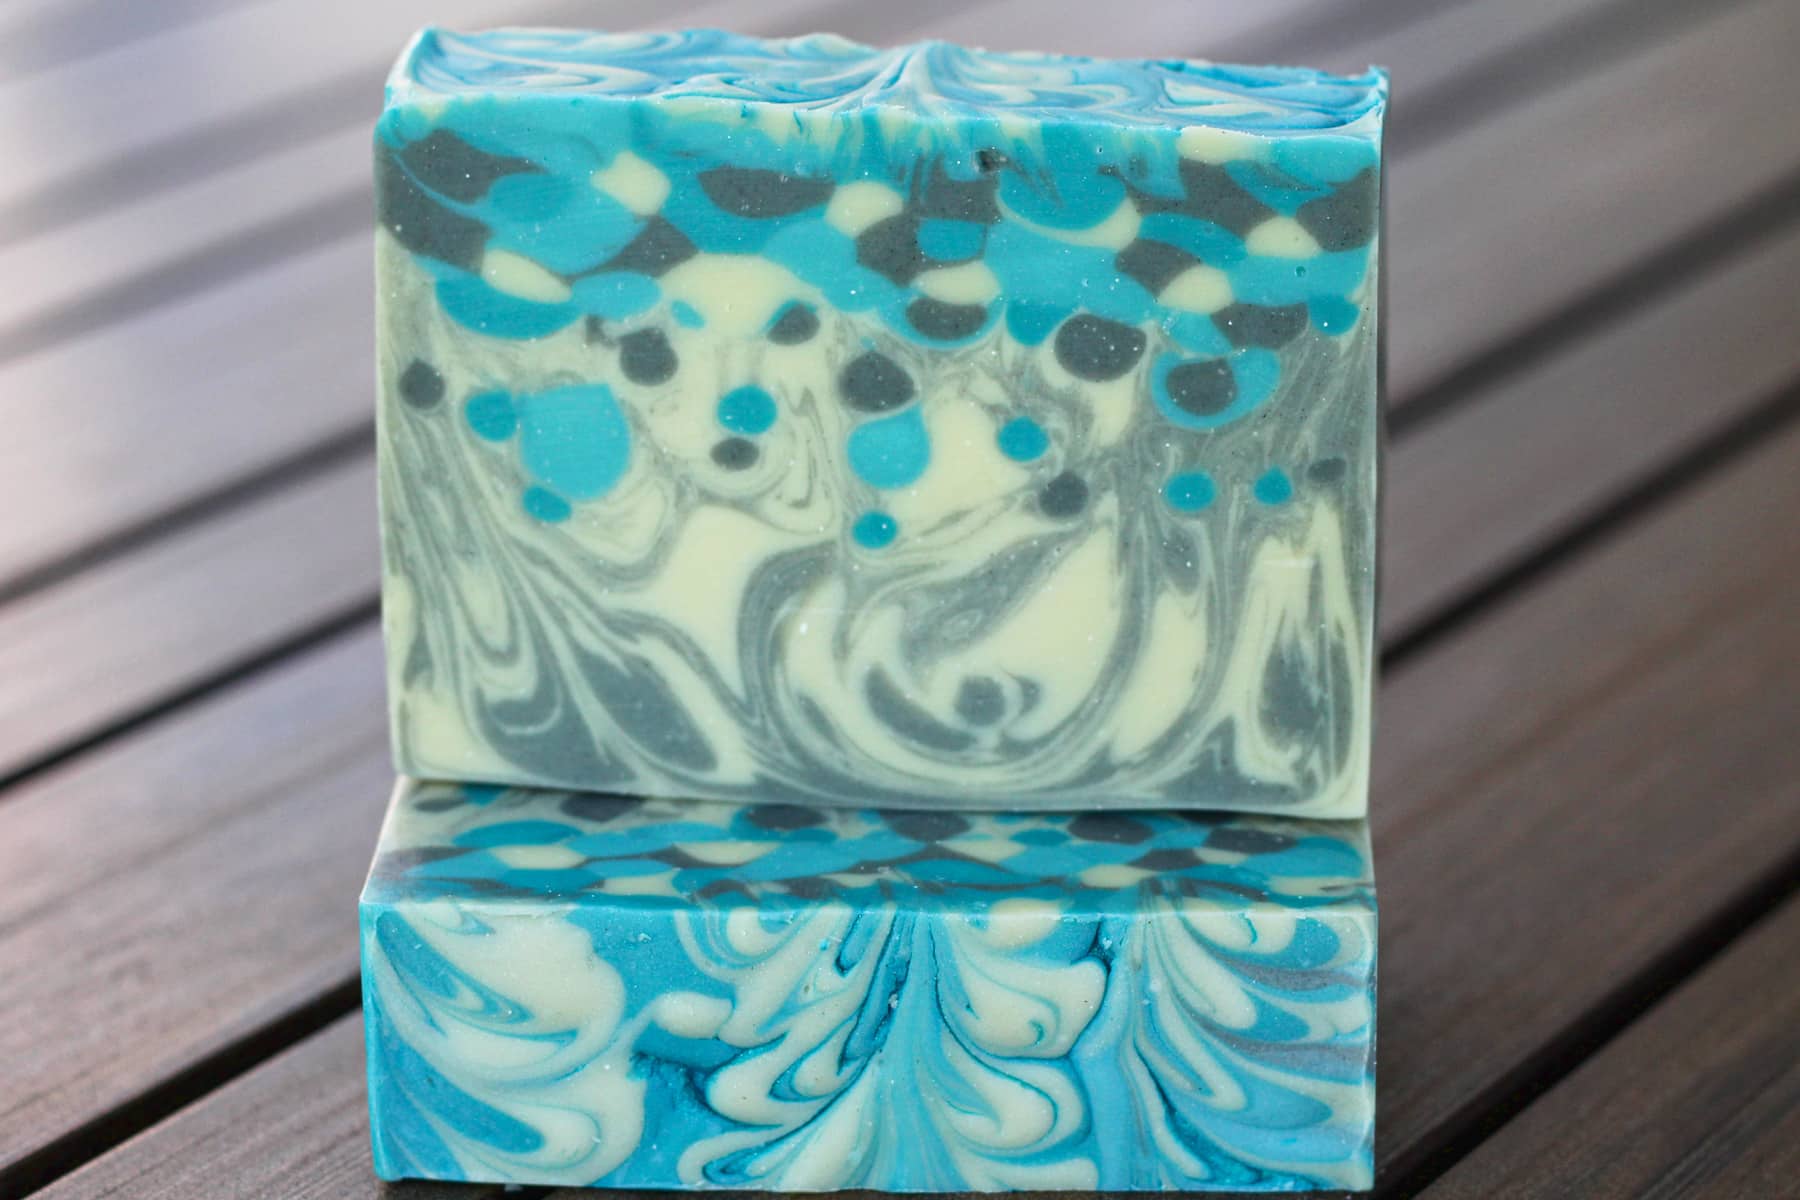
14. Mini Drop Swirl
So fun, but tricky. A technique I learned while participating in the soap challenge club. Soap batter is poured into squirt bottles and then squeezed in the batter to create tinny drops. The consistency of your batter needs to be just so, for it to look great.
Mini Drop Swirl Tutorial:
How to Make mini Drop Swirl Soap
15. Tiger Stripes
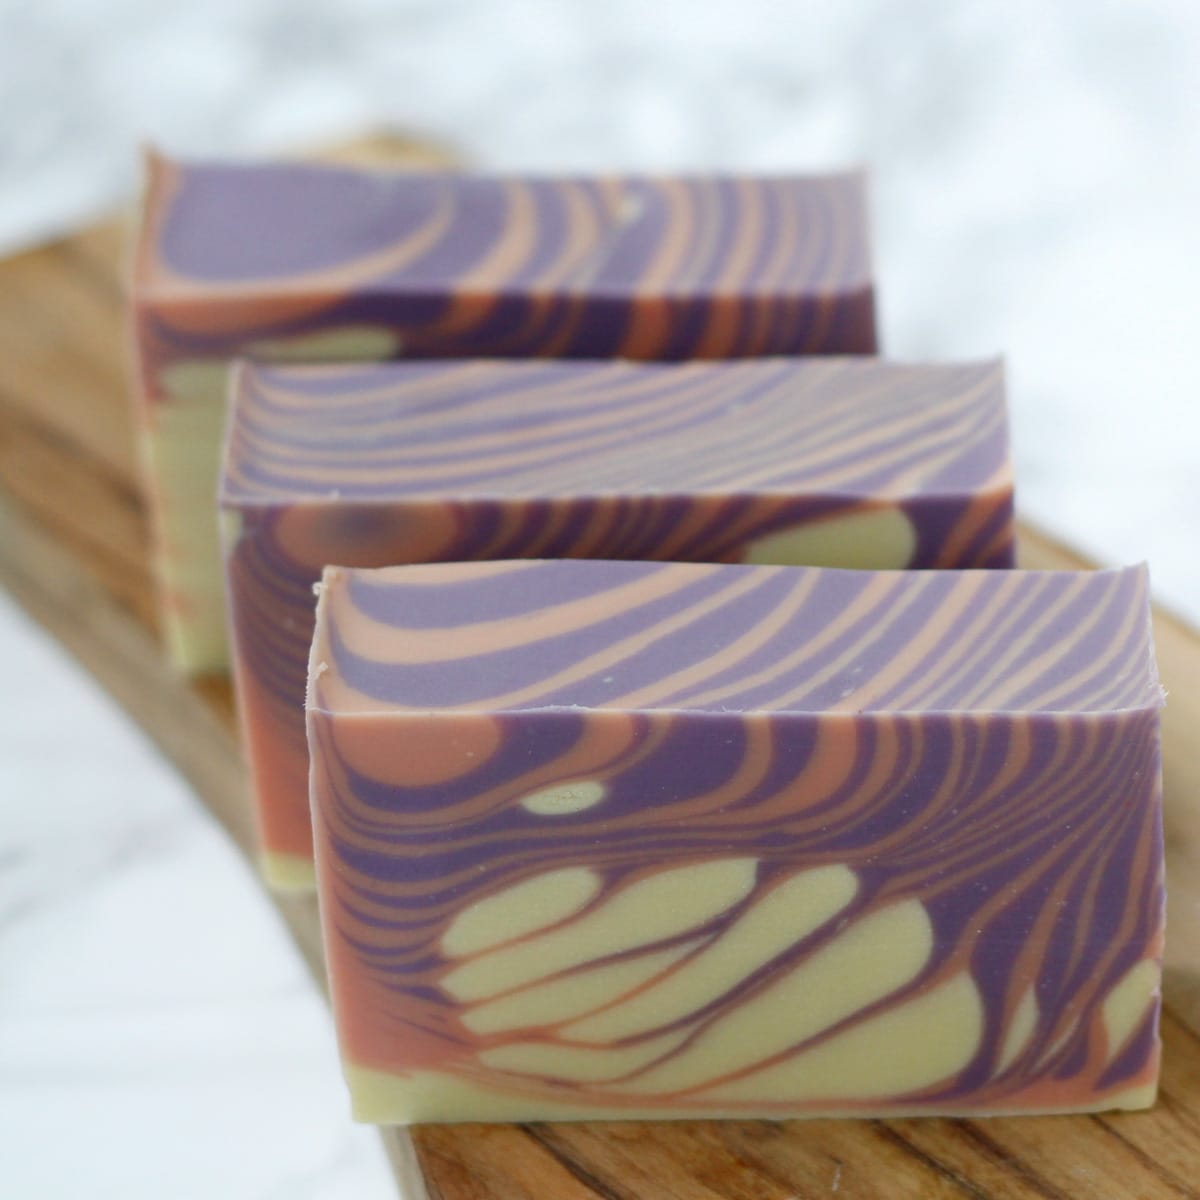
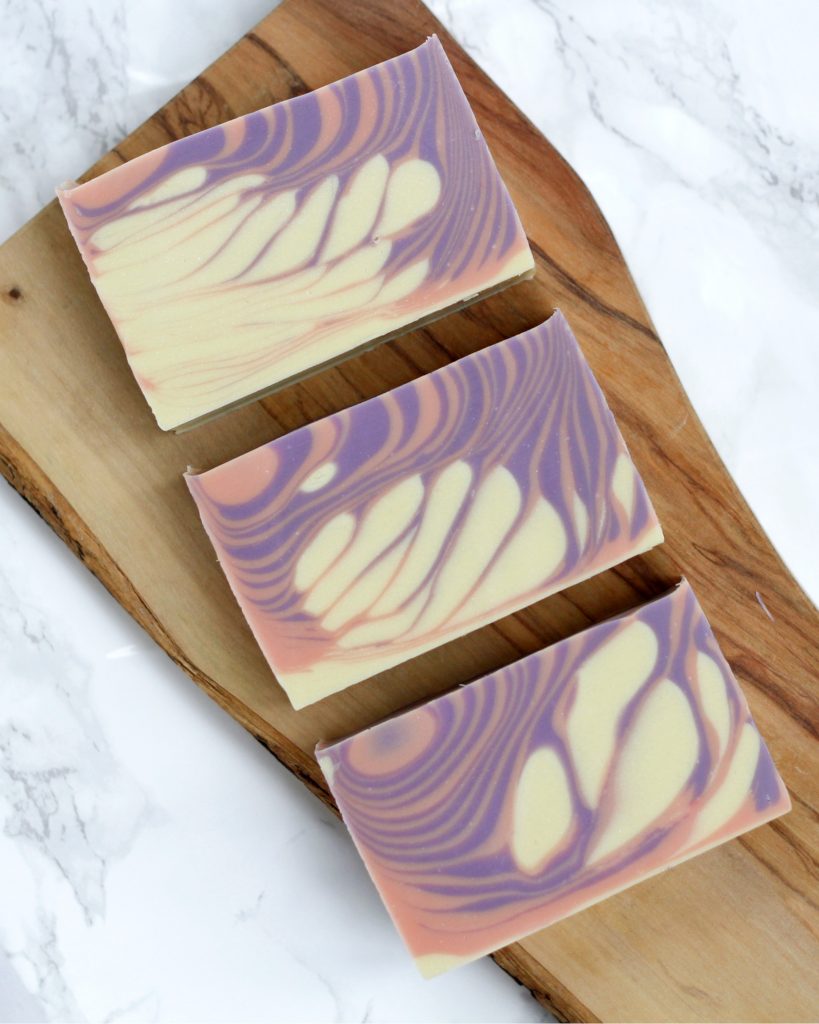
Fluid soap batter is poured from one side or the middle of the soap mold to create gorgeous thin layers.
Tiger Stripe Tutorial:
Tips for Soap Design Success
Let's face it: Soap making is a finicky craft, especially cold process soap making. It takes time to find a recipe and method that gives consistently good results. Even then, you just have to add one new ingredient (e.g. honey) and - boom - soap volcano. If you manage to dodge all major soap catastrophes and get to the point where you want to try your hand at an intricate design, then these helpful tips will make all the difference.
1. Learn about trace and how to control it
This is one's a biggie. Most soap designs rely on the soap batter to have just the perfect consistency. You need to be able to recognize the different stages of trace. This requires practice and planning. Depending on the consistency you're aiming for you will choose your recipe, fragrance and adjust the time you mix the soap batter.
Most of my soapy "design fails" have been due to the soap batter moving too quickly or being too thick.
If you want to learn more about controlling trace, hop over to Modern Soapmaking.
2. Have all your tools and ingredients ready
Cold process soap making is a race against the clock. Most often you won't have a few spare minutes to go search for that chop stick 😉
3. Clay and titanium dioxide will thicken your batter
That's way I like to mix my clays and titanium dioxide in warm water (1 tablespoon of water per 1 teaspoon of clay). Even then the batter ends up being thicker than usual, something to keep in mind.
Here's an example of a tiger stripe attempt. The white soap batter thickened way faster than the rest, since I used titanium dioxide.
4. Use containers of similar materials
Oftentimes when we want to achieve a certain design we need to separate our batter into separate containers in order to add different colors to it. Now, in the past I’ve often used let’s say 2 plastic jugs and a glass measuring cup. I always wondered why the batter in the glass container was so much thicker? Until one day it dawned on me: the glass is keeping the batter warmer therefore trace was moving faster. Aha
5. Don't save too much batter for the top
I’m not one to make extra batter to have just in case. Whatever amount my mold holds that’s how much I make. But that also means that I need to, depending on the look I’m going for, be bold and dump most of my batter in there if I want to fill my mold all the way. I’m always surprised at how little I really need to deck out the top. I just need to thoroughly scrape my bowl and, voila, just enough.
6. Know when to stop swirling the top
Speaking of soap tops, here’s another one. I tend to sometimes get so caught up in the swirling and whirling action that I don’t realize that my colors have long all mixed together and are now one indistinct muddle (is that a word?). Just like when my kids experiment with mixing different colors, well eventually it always ends up being – brown.
The key is not to overdo it, when you think it’s good enough leave it.
Until next time. Happy Tinkering!


Aileen
I wanted to use cranberry juice and it turned the ugliest "I have a really bad stomach" green when mixed with lye!
Celine
Oh no, experimenting with soap always leads to "surprises" 😉
Aileen
I didn't know about the glass jar vs. plastic jars. Now it all makes sense!!! Thanks for sharing!
Laura
I once left out an ingredient leaving my soap lye heavy it was only 100g of ingredients but it made a massive difference as the soap was not safe enough to sell
Celine
Oh boy, yes it can happen quickly.
Roopa
I’m learning so much from you. I’m new to soap making and everyday is a surprise. Thank you so much for all the information
Celine
I’m glad to hear, Roopa. Thank you very much for your kind words. Happy Tinkering 😃
Savanah
I didn’t know about vanilla/vanillin in fragrance oils and made 100 bars of blueberry soaps and they were so pretty when they were done. Then a few days later they turned the most disgusting brown and blue color!!! I could t sell them! They smelt amazing but OMG they were disgusting! It was like the soap was dirty!
Celine
Hi Savannah, oh no that's too bad. That happened to me too when I was a beginner, at least in my case it was a coffee soap - so it somehow fit the theme 😉 What scent did you use for your blueberry soap?
Susan
Hi, What do you recomend to use for colors. I am a relatively new cold process soaper and have not had real good luck with coloring my soap.
Celine
Hi Susan,
It depends if you want to color your soap with only natural ingredients or not. For non natural colorants I prefer micas hands down. Natural colorants can be a little trickier since there is a good chance they might morph to a different color or fade quickly. If gotten the best results with clays, nettle leaf powder (for dark green) or dried calendula. I've shared many recipes using natural colorants on some I've included the look after 6 months. Feel free to check them out under "cold process soap recipes". Happy Tinkering 🙂
michelle
when you pre mix td do you need to keep it in the frig or in the cupboard
Celine
Hi Michelle, good question. I keep it outside the fridge unless you’re using an oil with a very short shelf life you should be ok. Happy Tinkering:)
Vic
Hi Celine
I'm new. what EO in your practice made trace thicker instantly?
Celine
Hi Vic, I haven’t seen it so much with EO, but with fragrance oils especially floral ones.
Brenda
Hi. Could you please tell me what to disolve the micas or clays with? If using oil or water do I discount it from the reciepe or take oil from the warmed oils? And which is the best stage to add them? Because I am finding my soap traces so fast I have trouble mixing it in properly. Which after reading what you said about the glass jug, may be because I mix my soap in the heavy bottomed pot I use to heat the oils in.
Celine
Hi Brenda, I usually use warmed oils for the micas and water for clays and titanium dioxide. 1 tsp of colorant to 1 Tbsp of oil/ water. I don’t discount when I dissolve in water since it will eventually evaporate. The key is to keep your batter ultra thin, I now stop stick blending when the oils are emulsified and stir by hand from there on if needed. I add the colors at thin- medium trace. Hope that helps!
Carolyn
Have you ever experienced your soap batter hardening quicker after you add fragrance?
Celine
Hi Carolyn, yes I certainly have. Particularly floral fragrances are notorious for that.
Heli
I once bought a bottle of soap dye that said "purple" on it. Used it in my next batch and it was all brown! I thought it had reacted with some ingredient and turned brown. Well, I tried it again a second time and it turned out brown -again. Finally I poured some of the colorant on some tissue paper and it really was brown! The label was wrong. Two ruined sets of soap that smelled beautiful but looked awful. Ended up using them myself.